

Main features
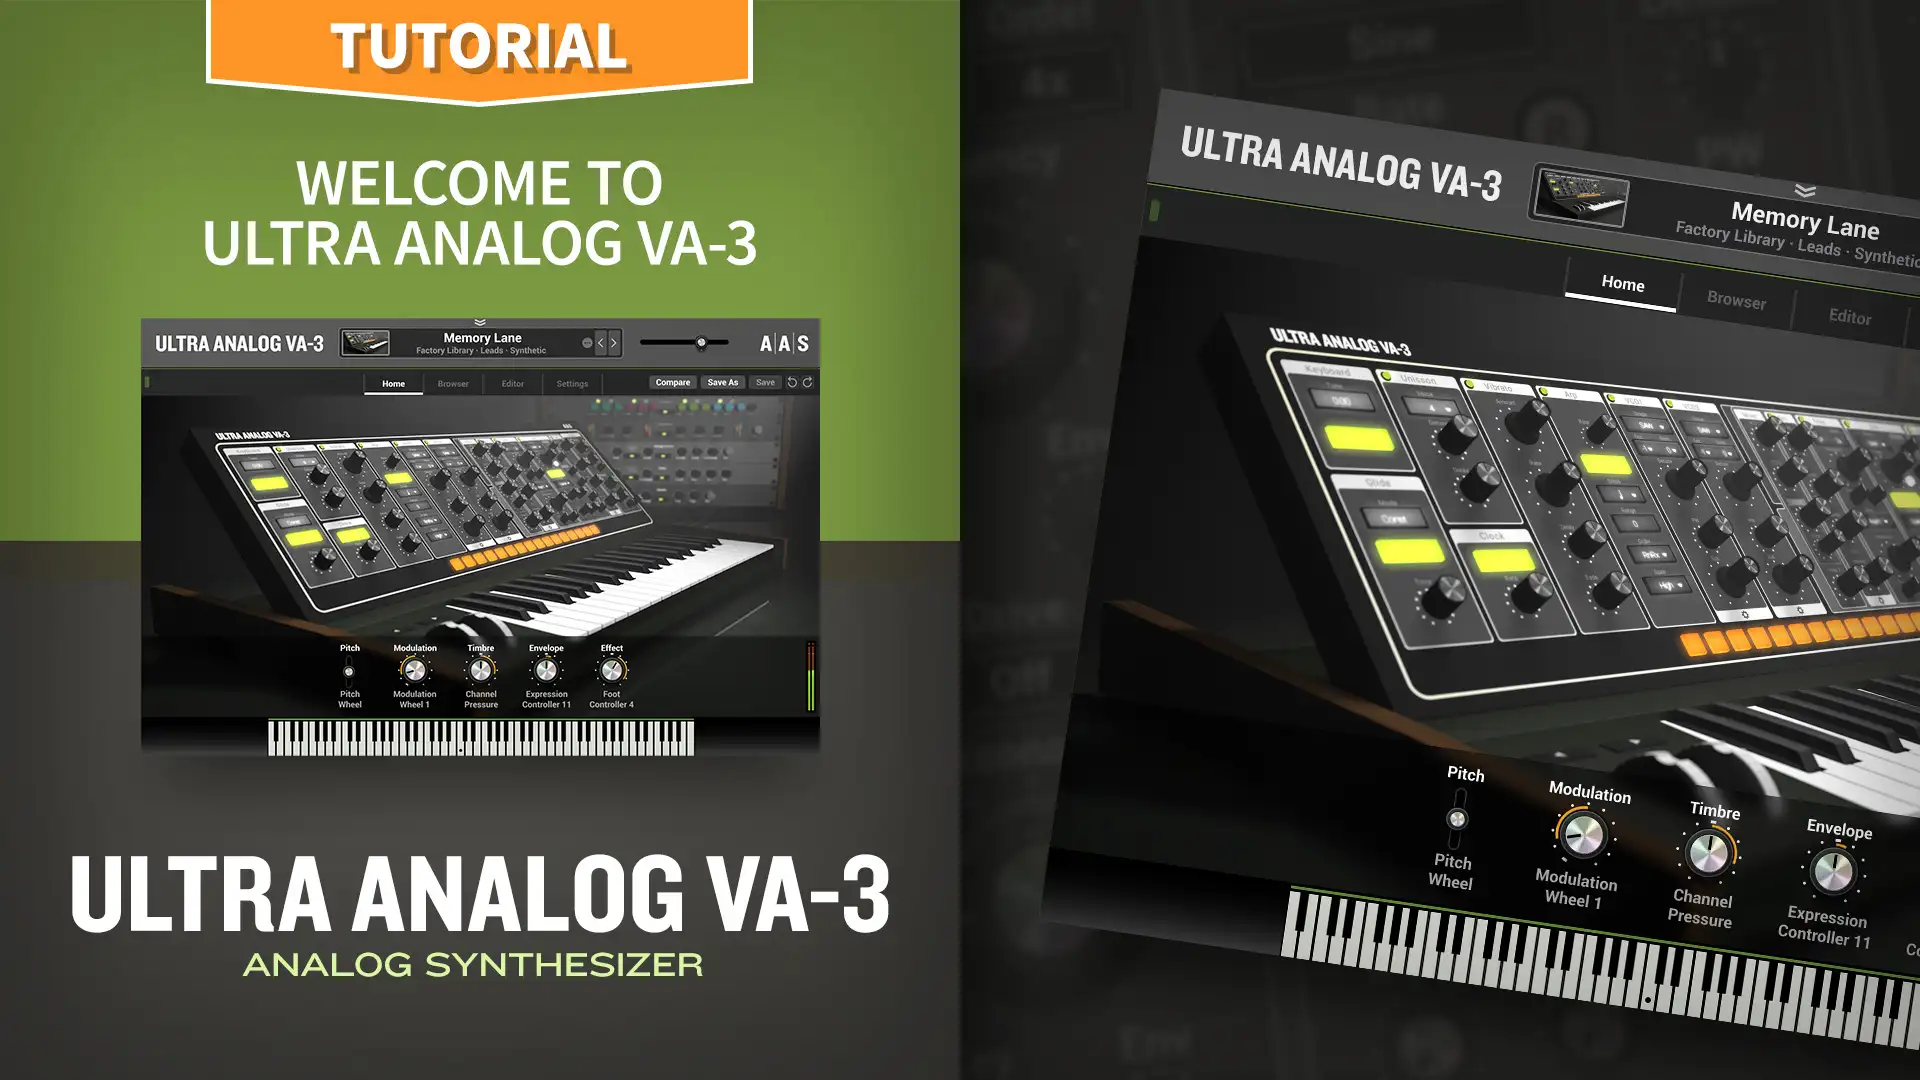
Ultra Analog VA‑3 is a two-voice multimbral analog synthesizer, each voice featuring two oscillators, two filters, effects, and advanced editing options that achieve a sweet balance between familiarity and flexibility.
-

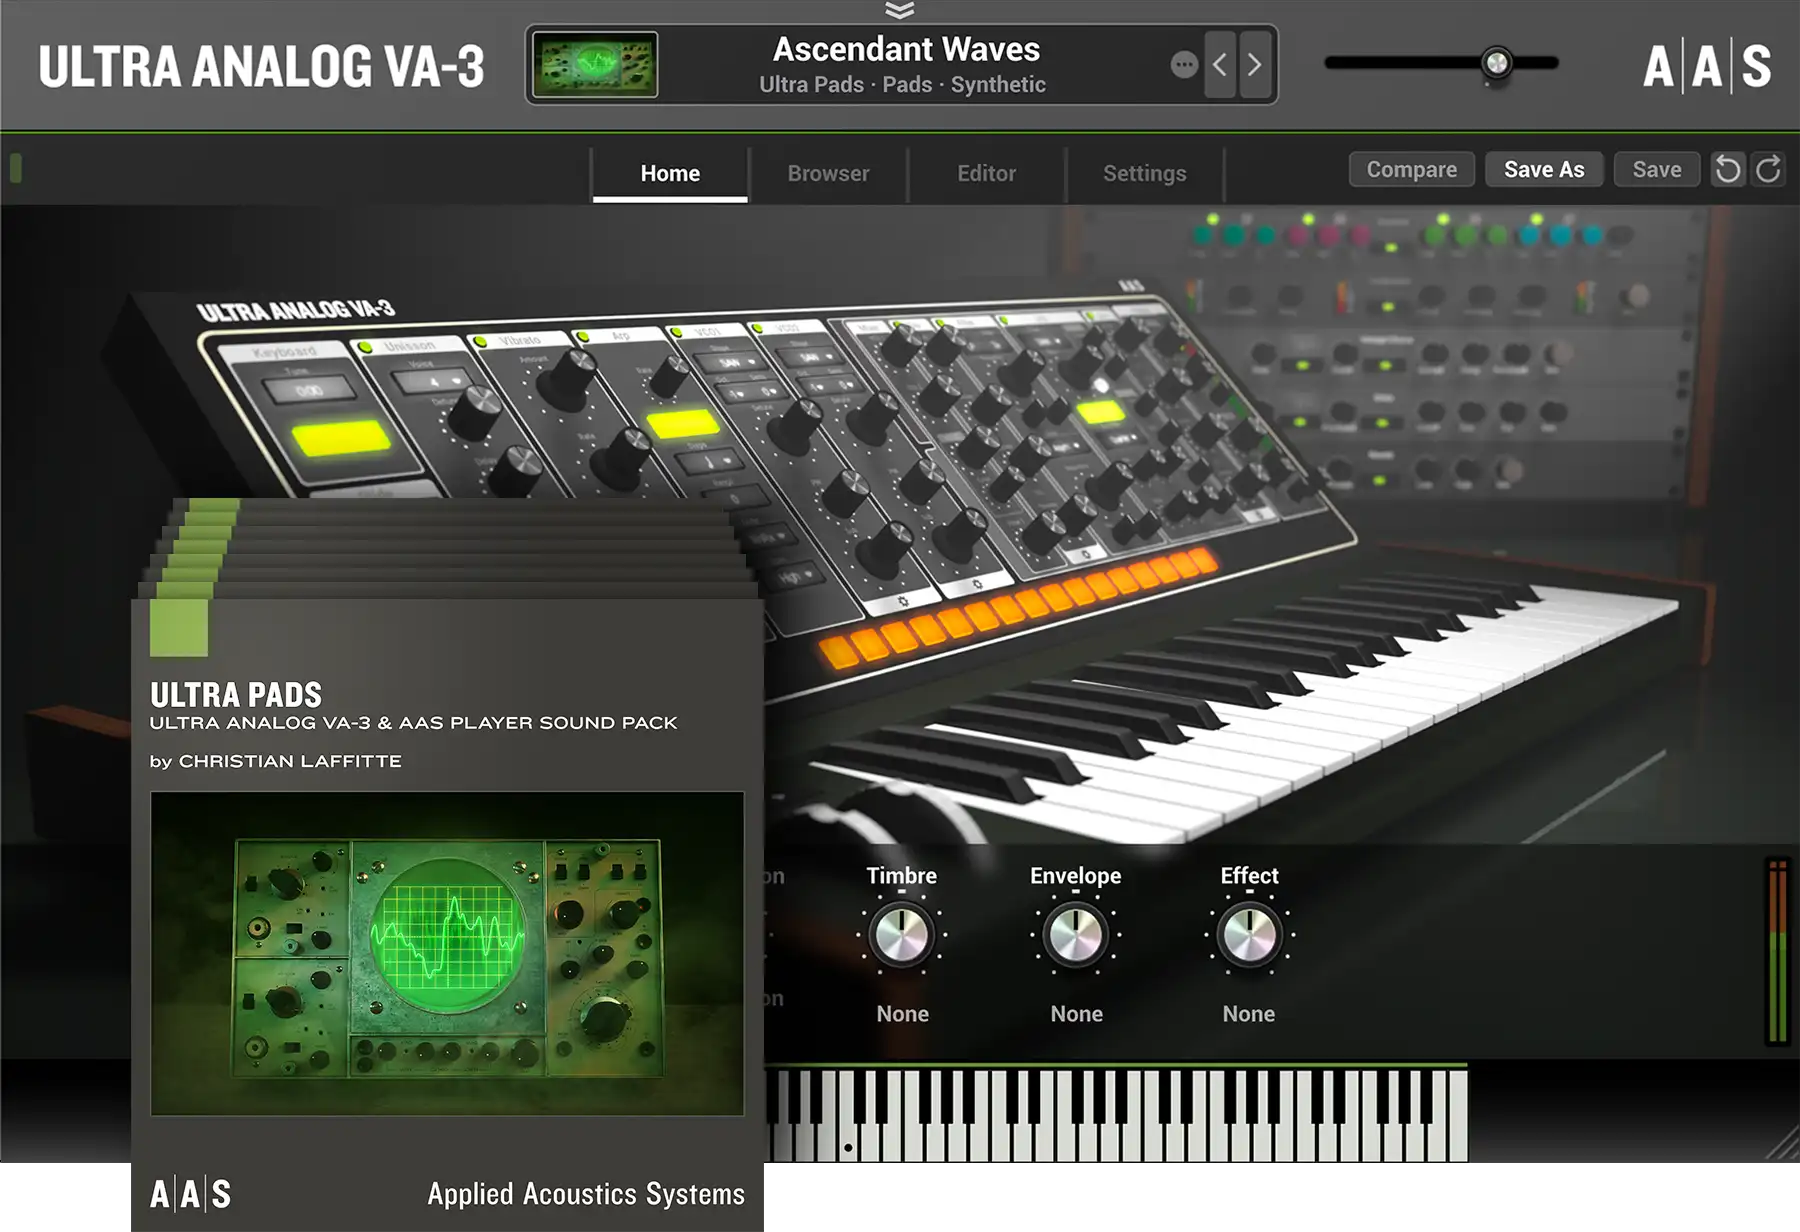
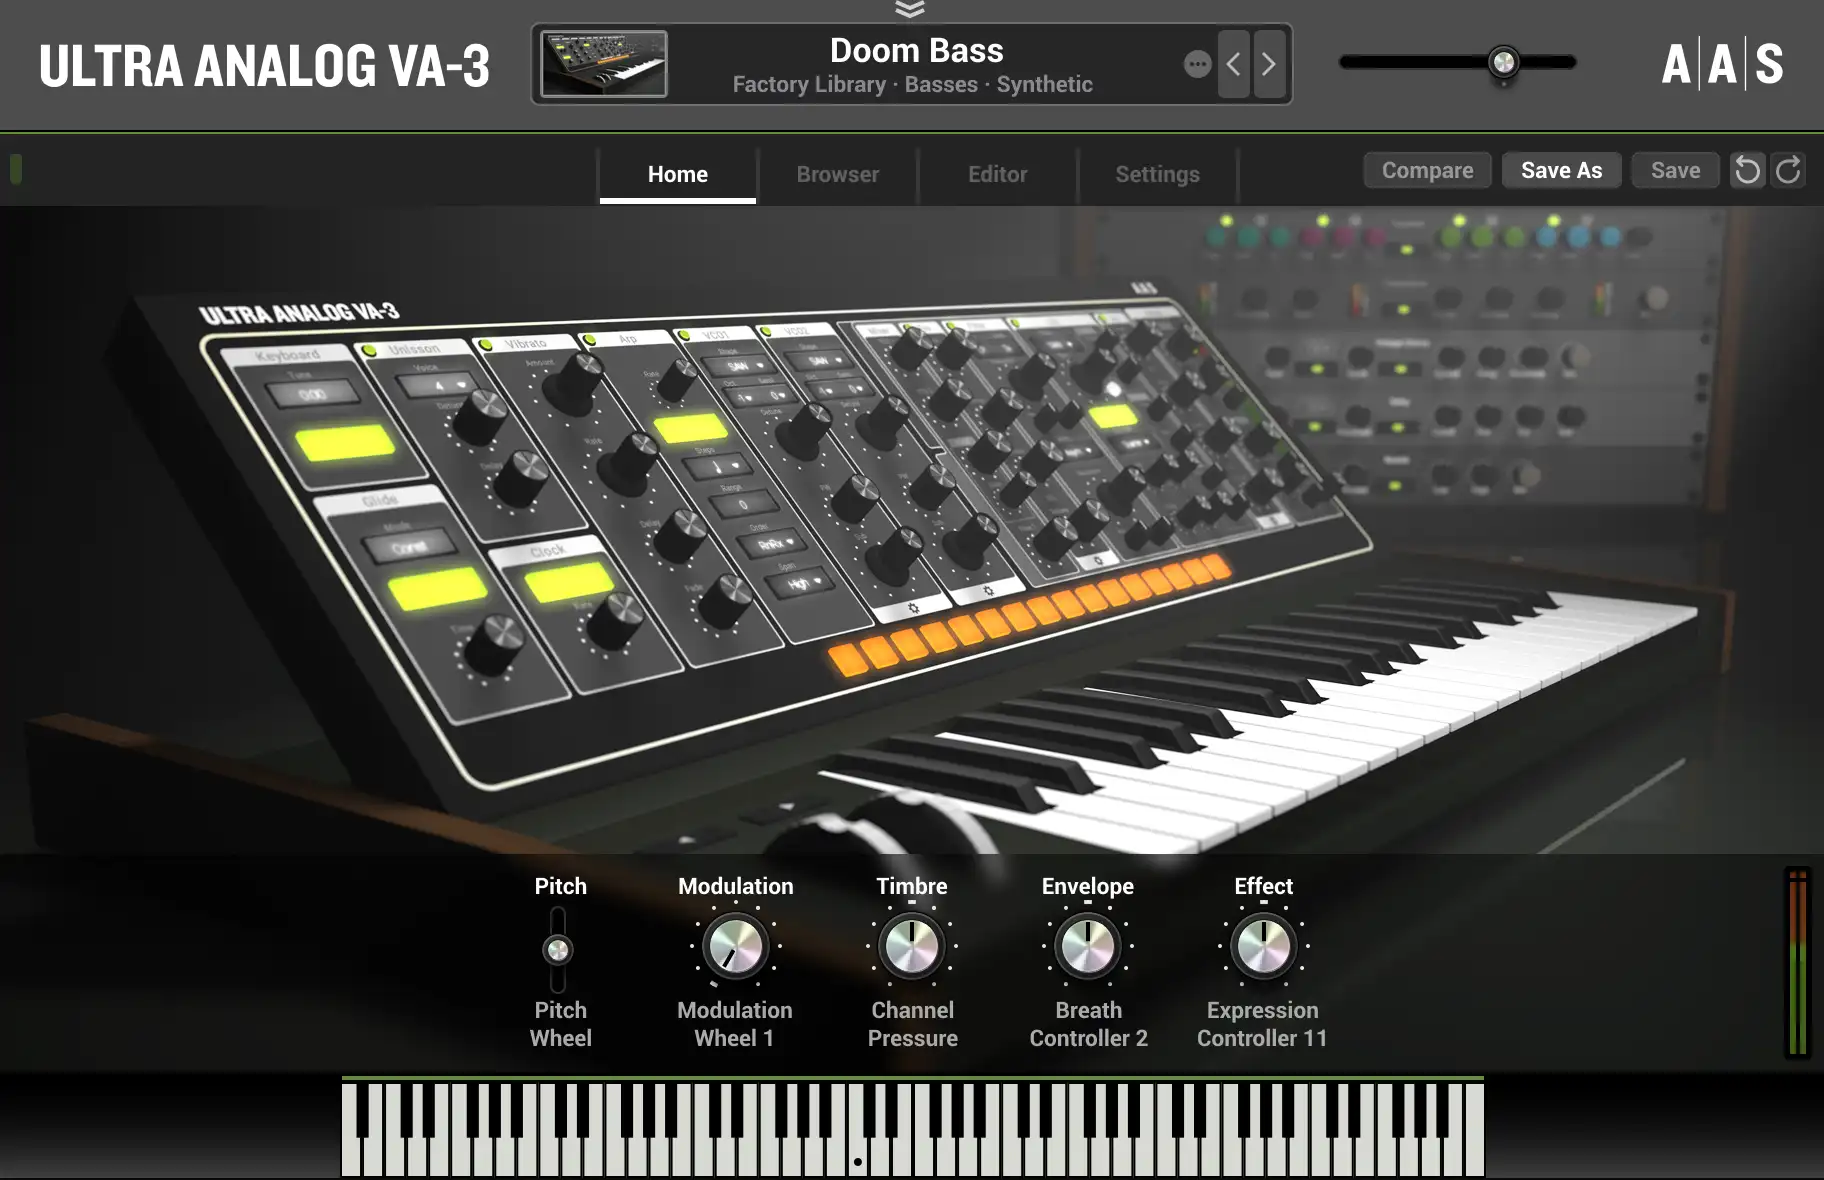
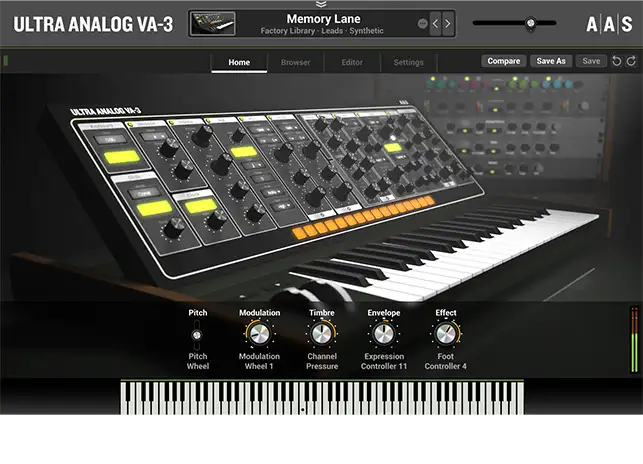
Home view
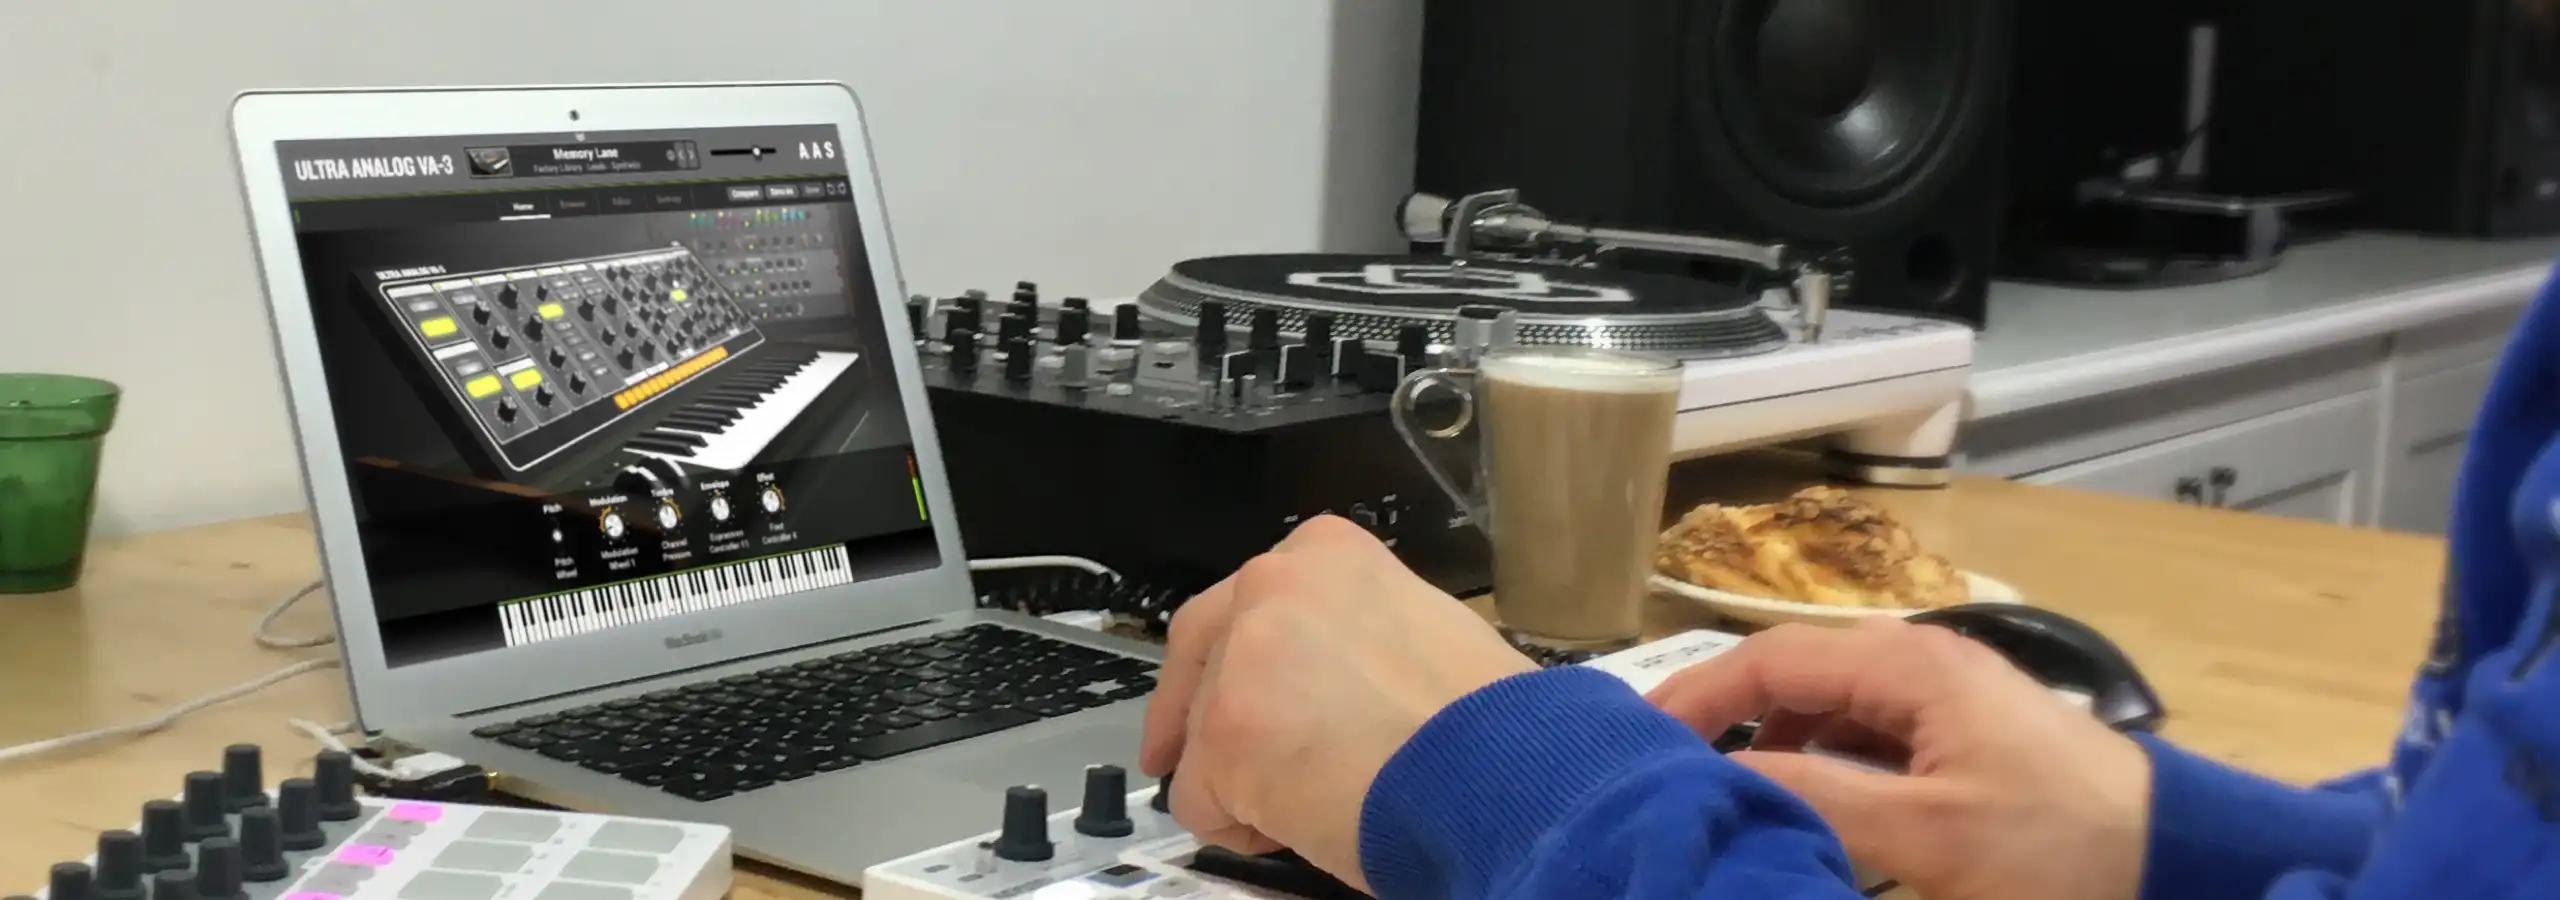
With macros mapped to key sound characteristics—modulation, timbre, envelope, and effect—the Home view presents a distraction free and laidback browsing and tweaking experience.
-
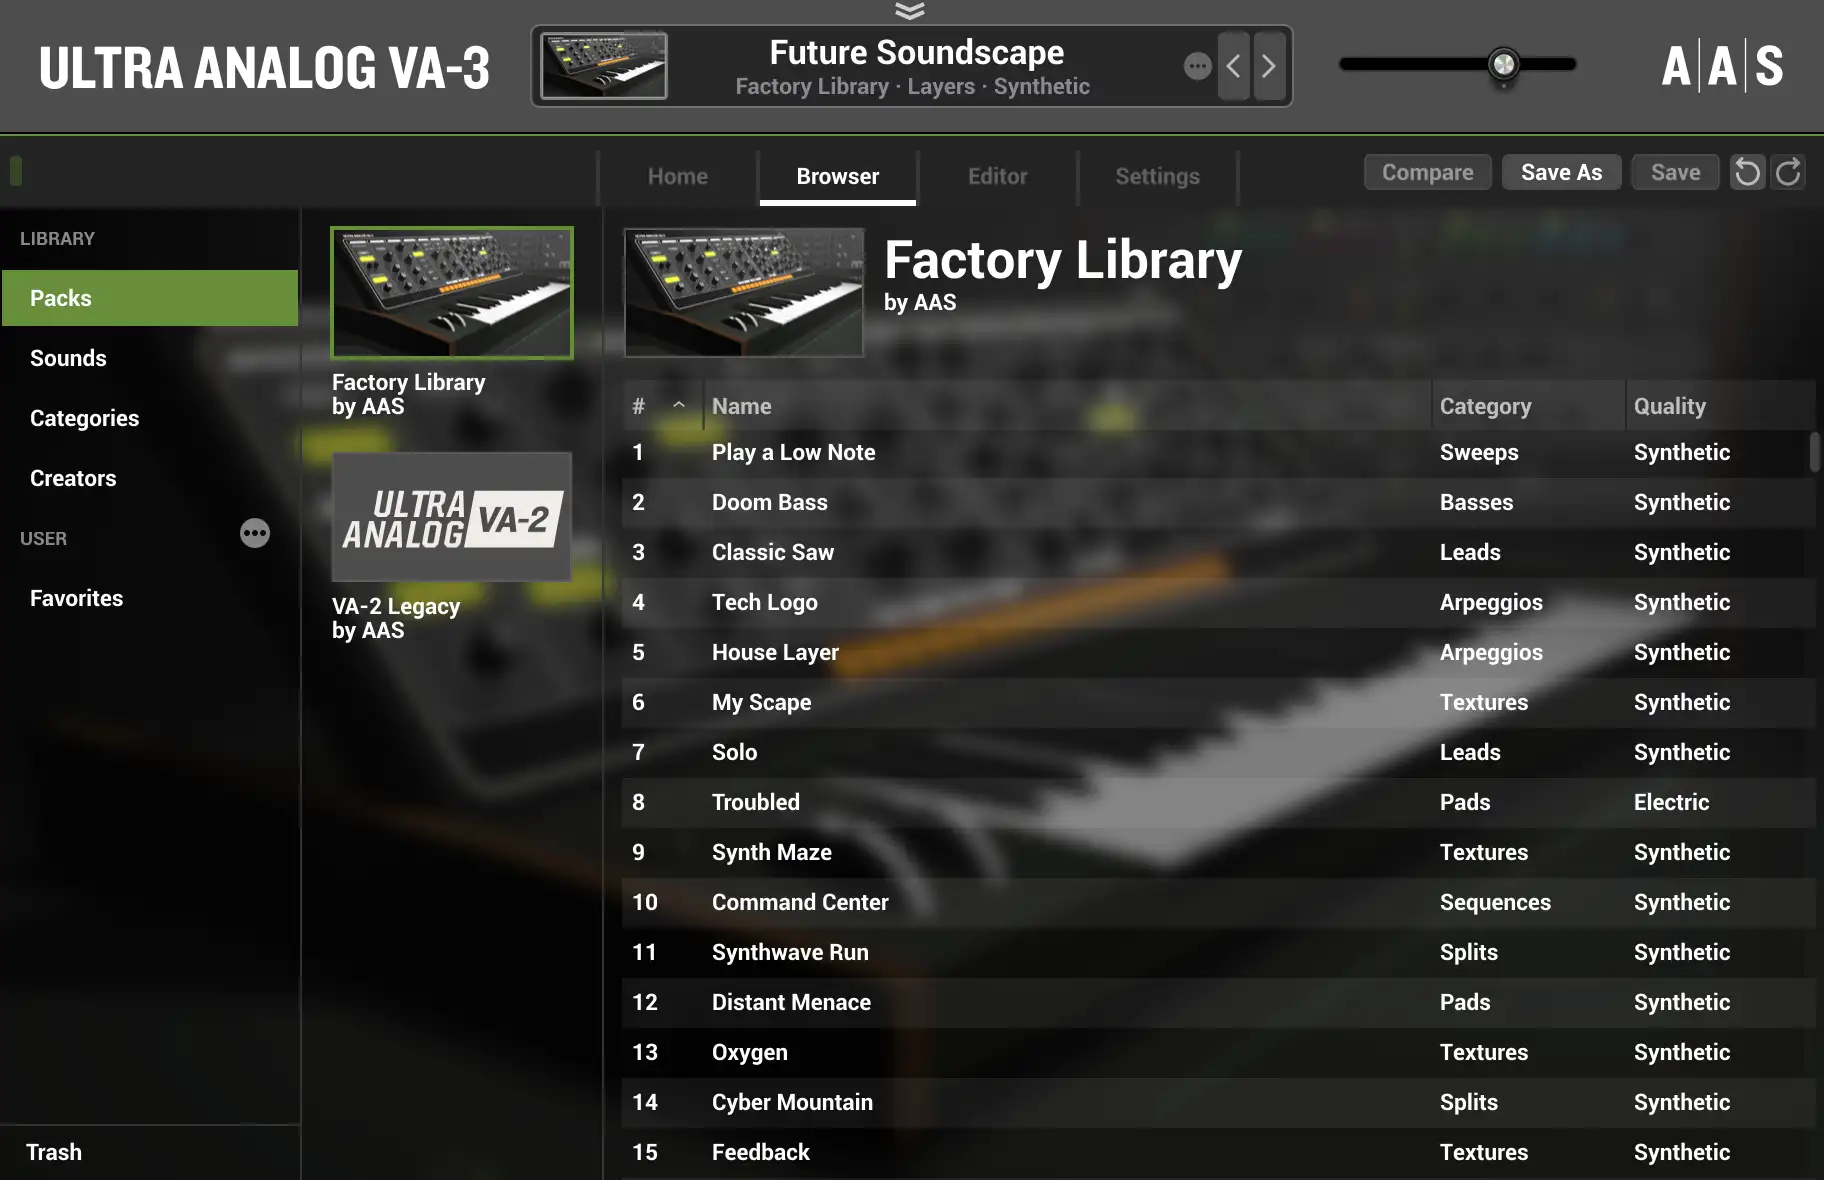
Jump right in
With Packs, Sounds, Categories, and Creators views, Ultra Analog VA‑3’s brand-new browser offers an efficient way to home in on the sounds you’re looking for.
-
Two-voice Multitimbral
Ultra Analog VA‑3 combines two independent timbres—stacked or split—to create performance-friendly, texture-full, and spacious sounds that are sure to make a good impression.
-
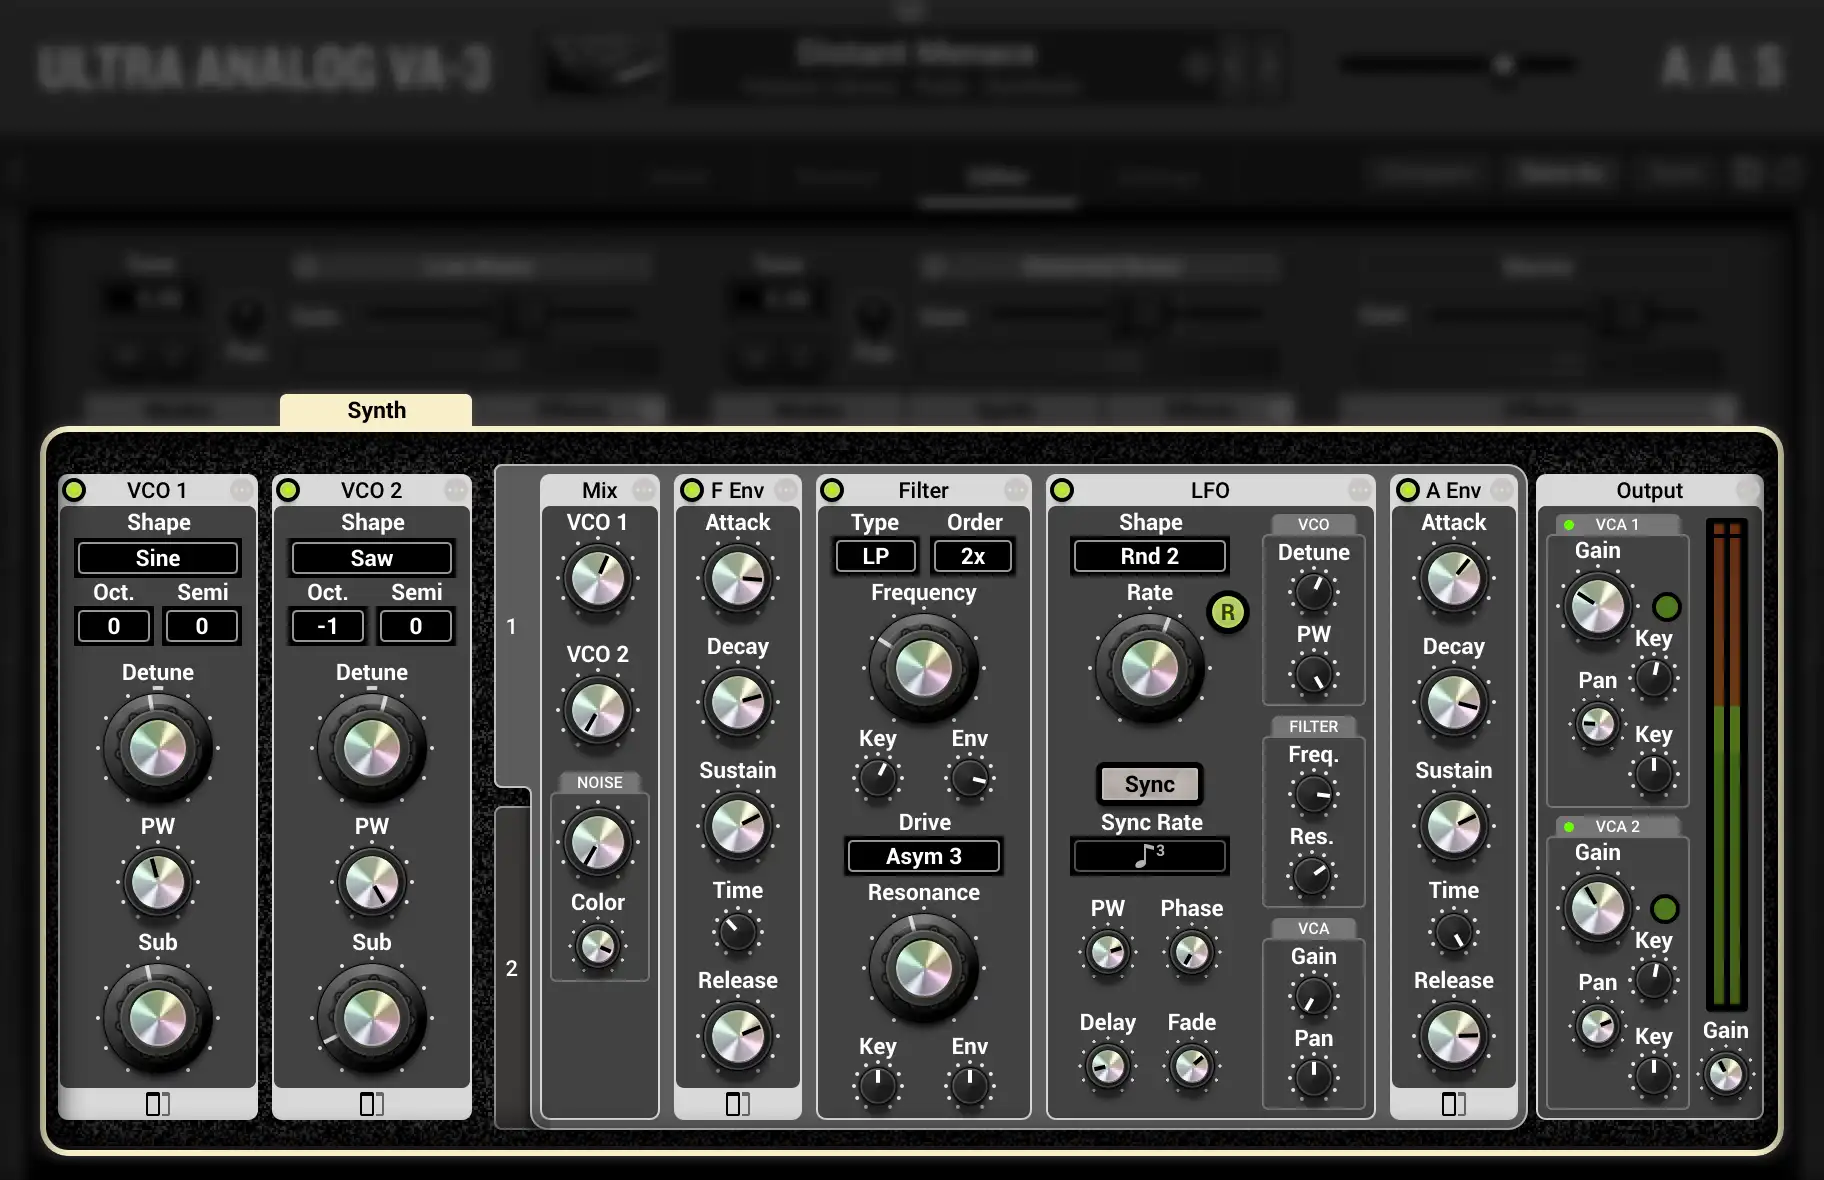
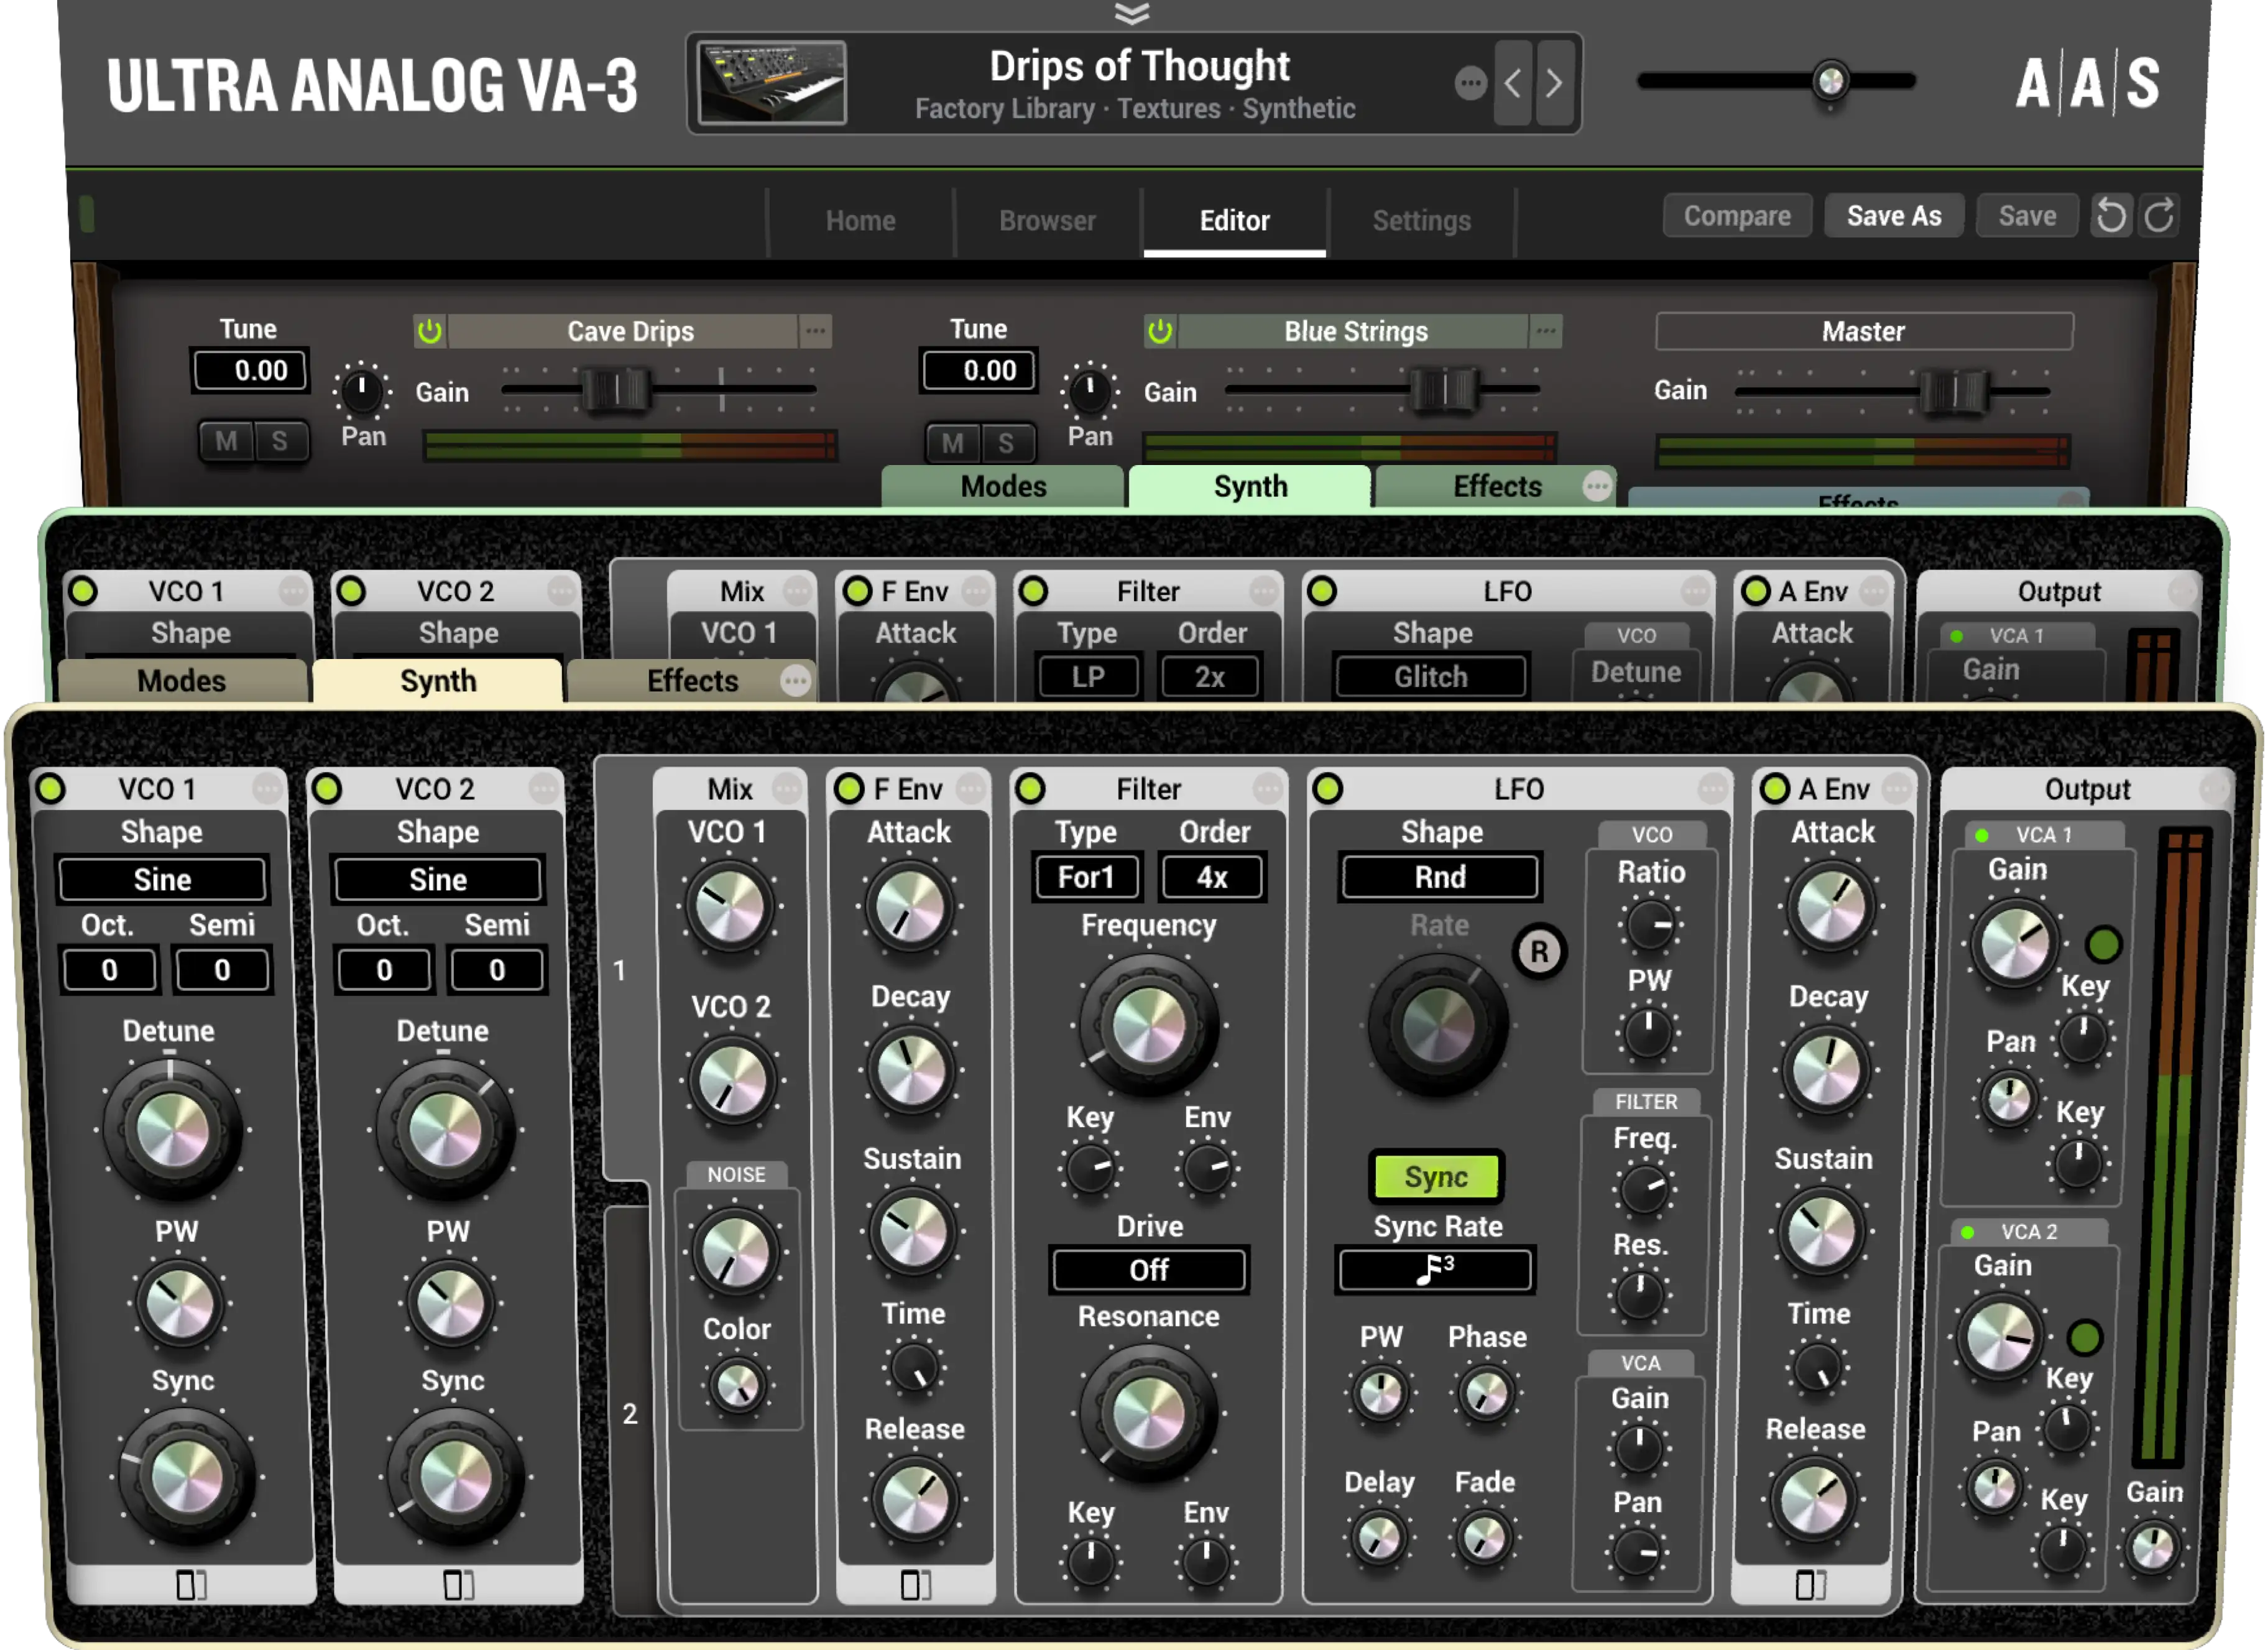
Familiar and sophisticated
With a two-oscillator-plus-filter arrangement and advanced editing options, each voice in Ultra Analog VA‑3 strikes a sweet balance between familiarity and an exceptional amount of flexibility.
-
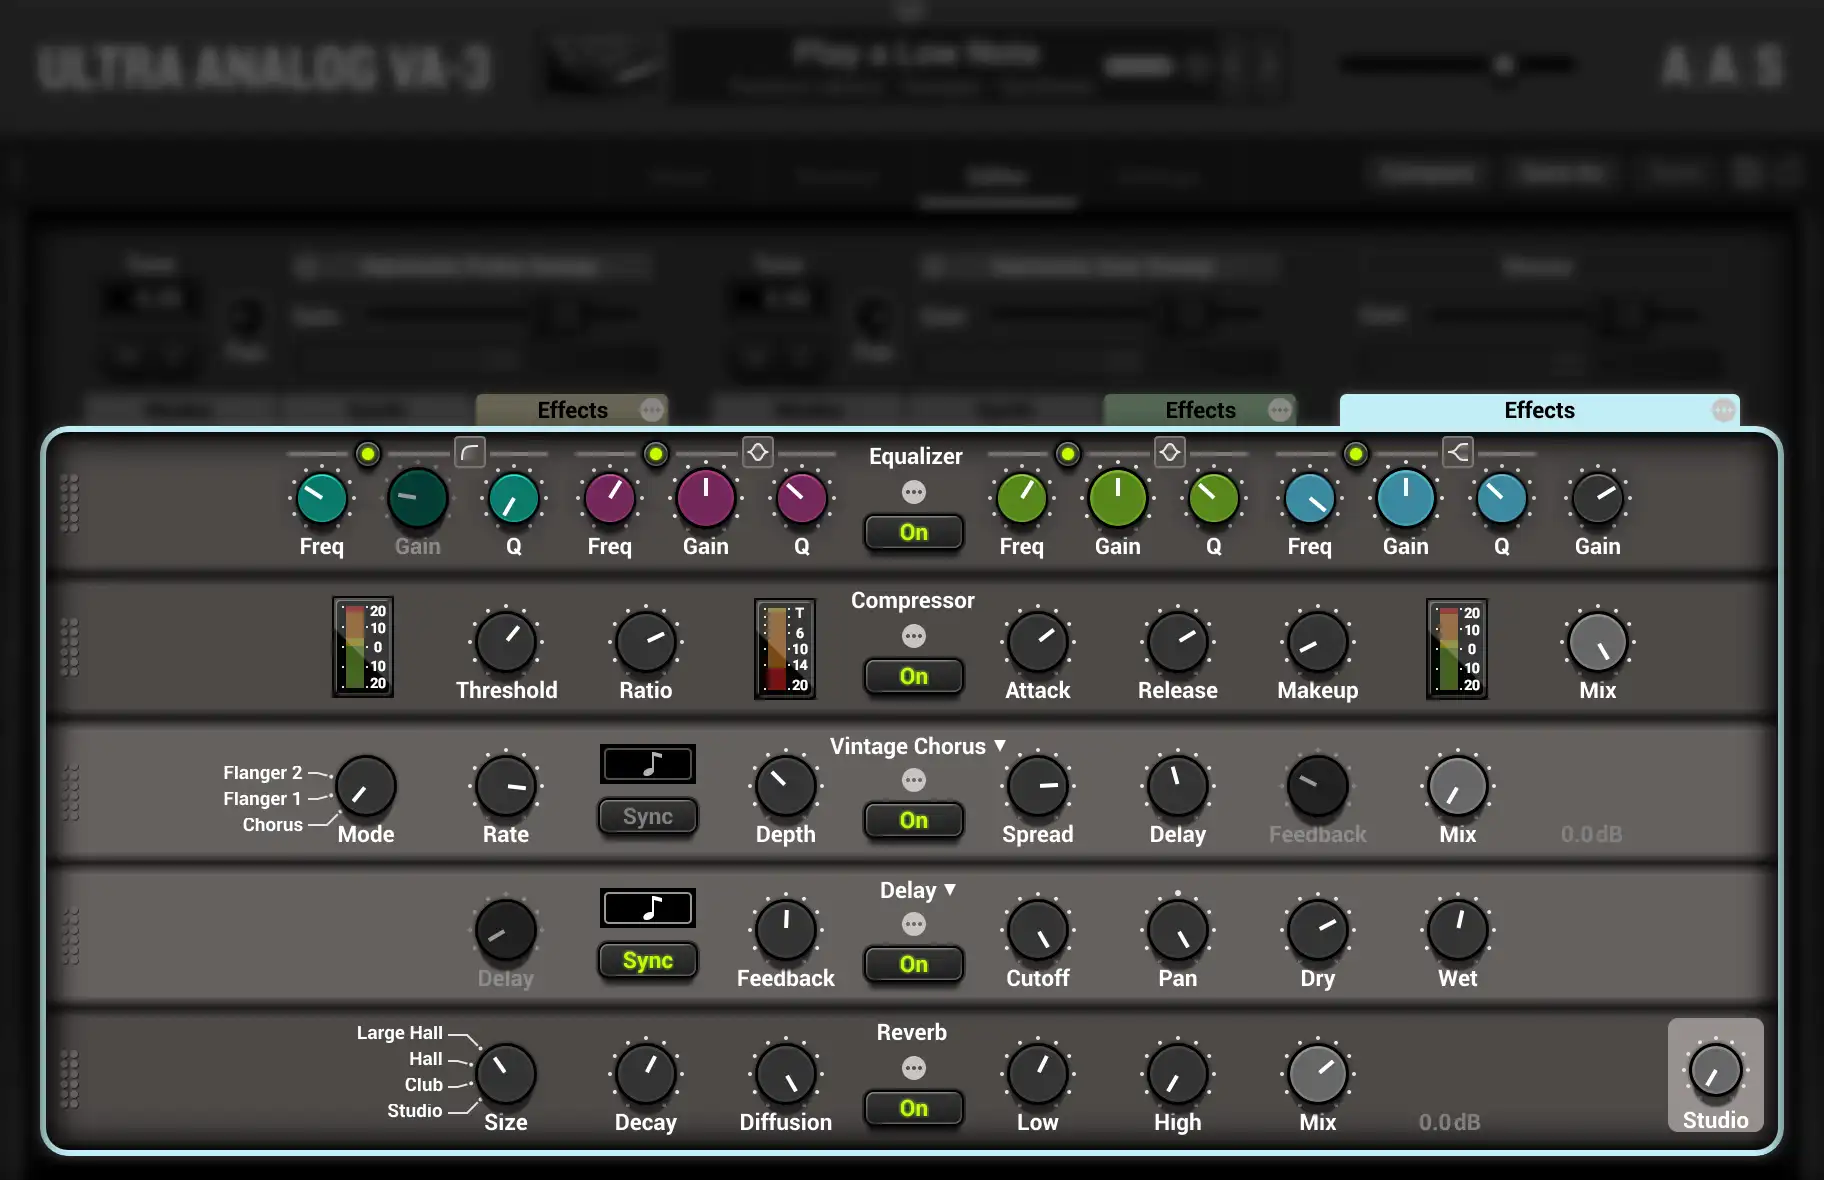
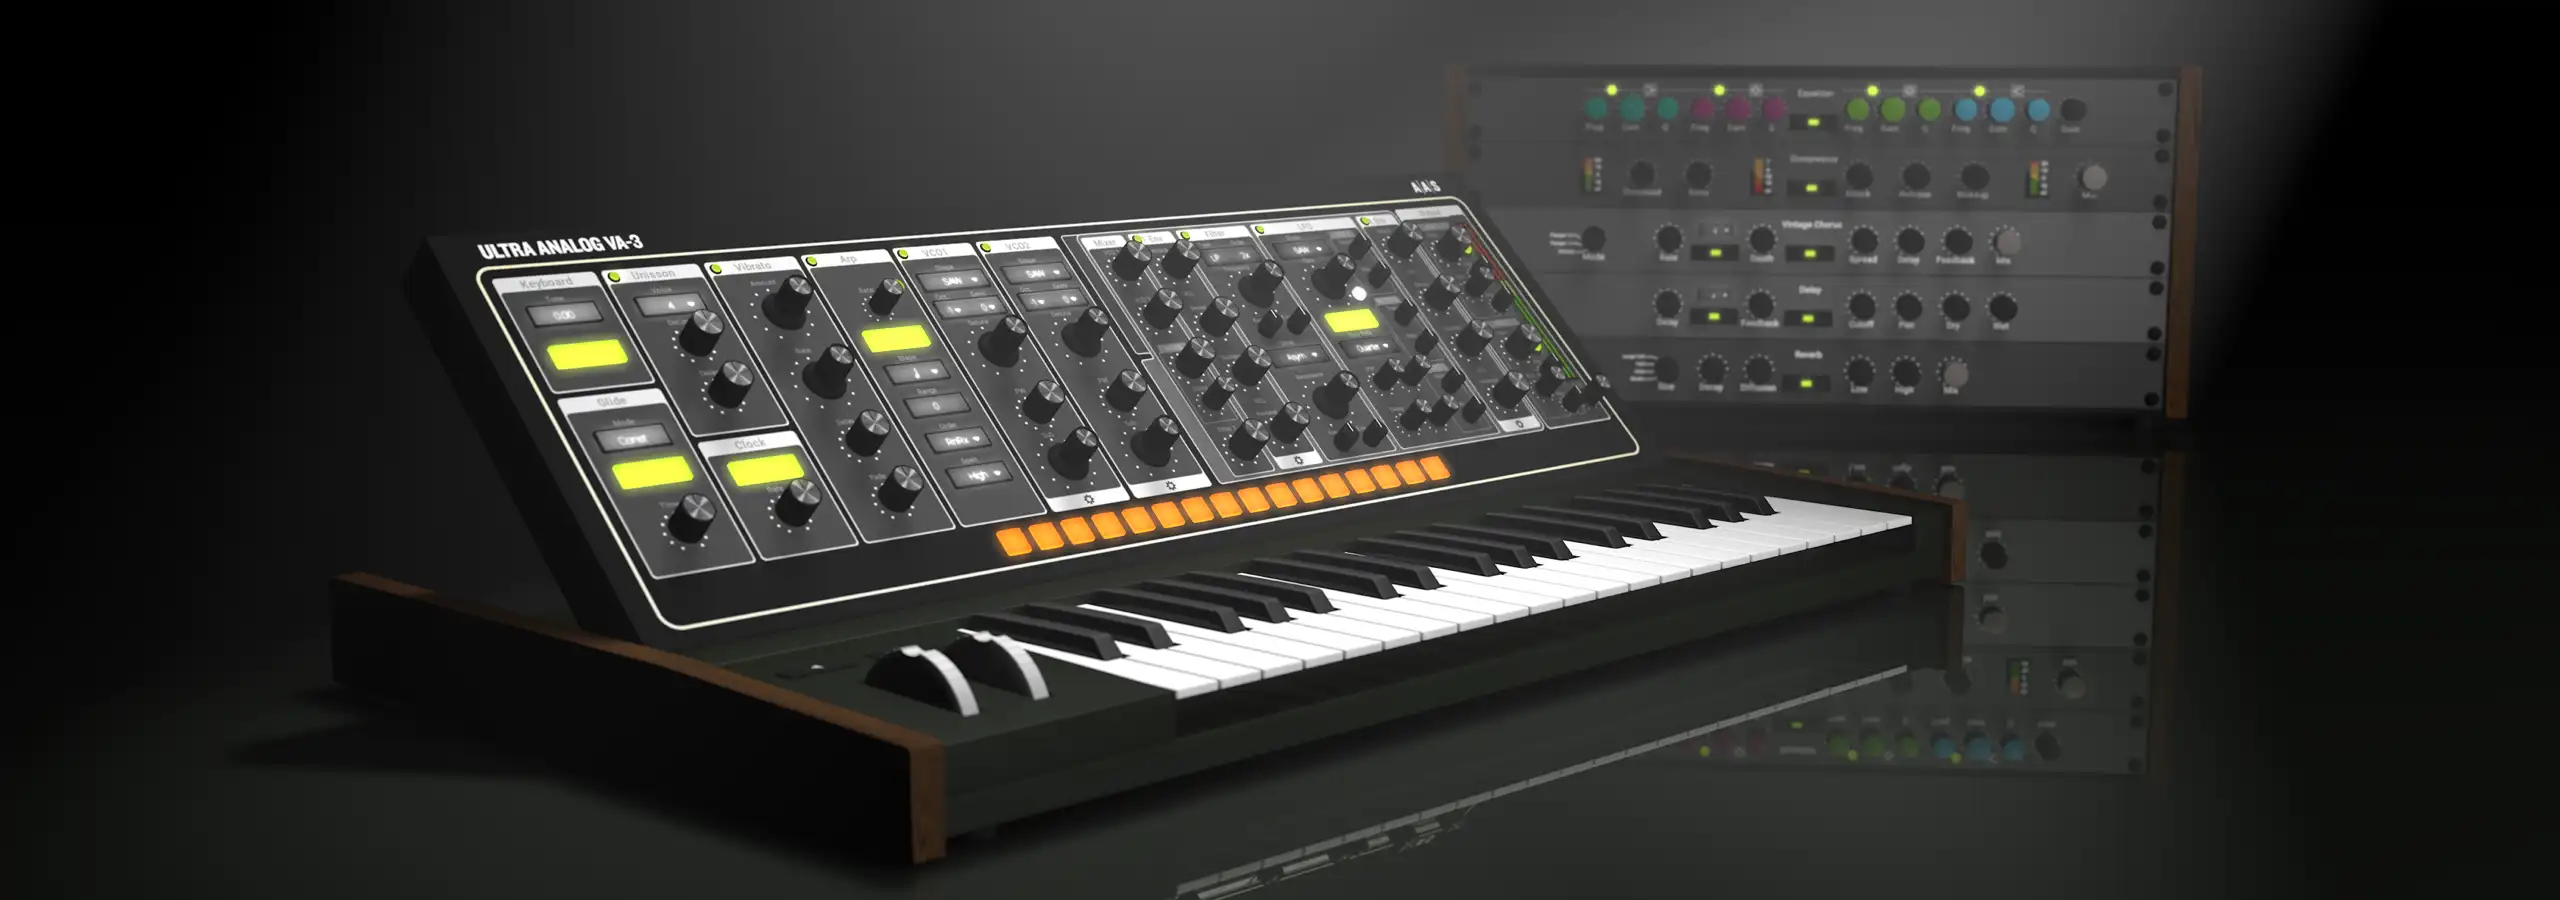
Multi-effect galore
UUltra Analog VA‑3 holds an abundance of effects in three independent racks. Reverb, delay, distortion, phaser, chorus, flanger, filters, equalizer, compressor, guitar amplifier, tremolo—all assist in putting the final touch on a sound.
-
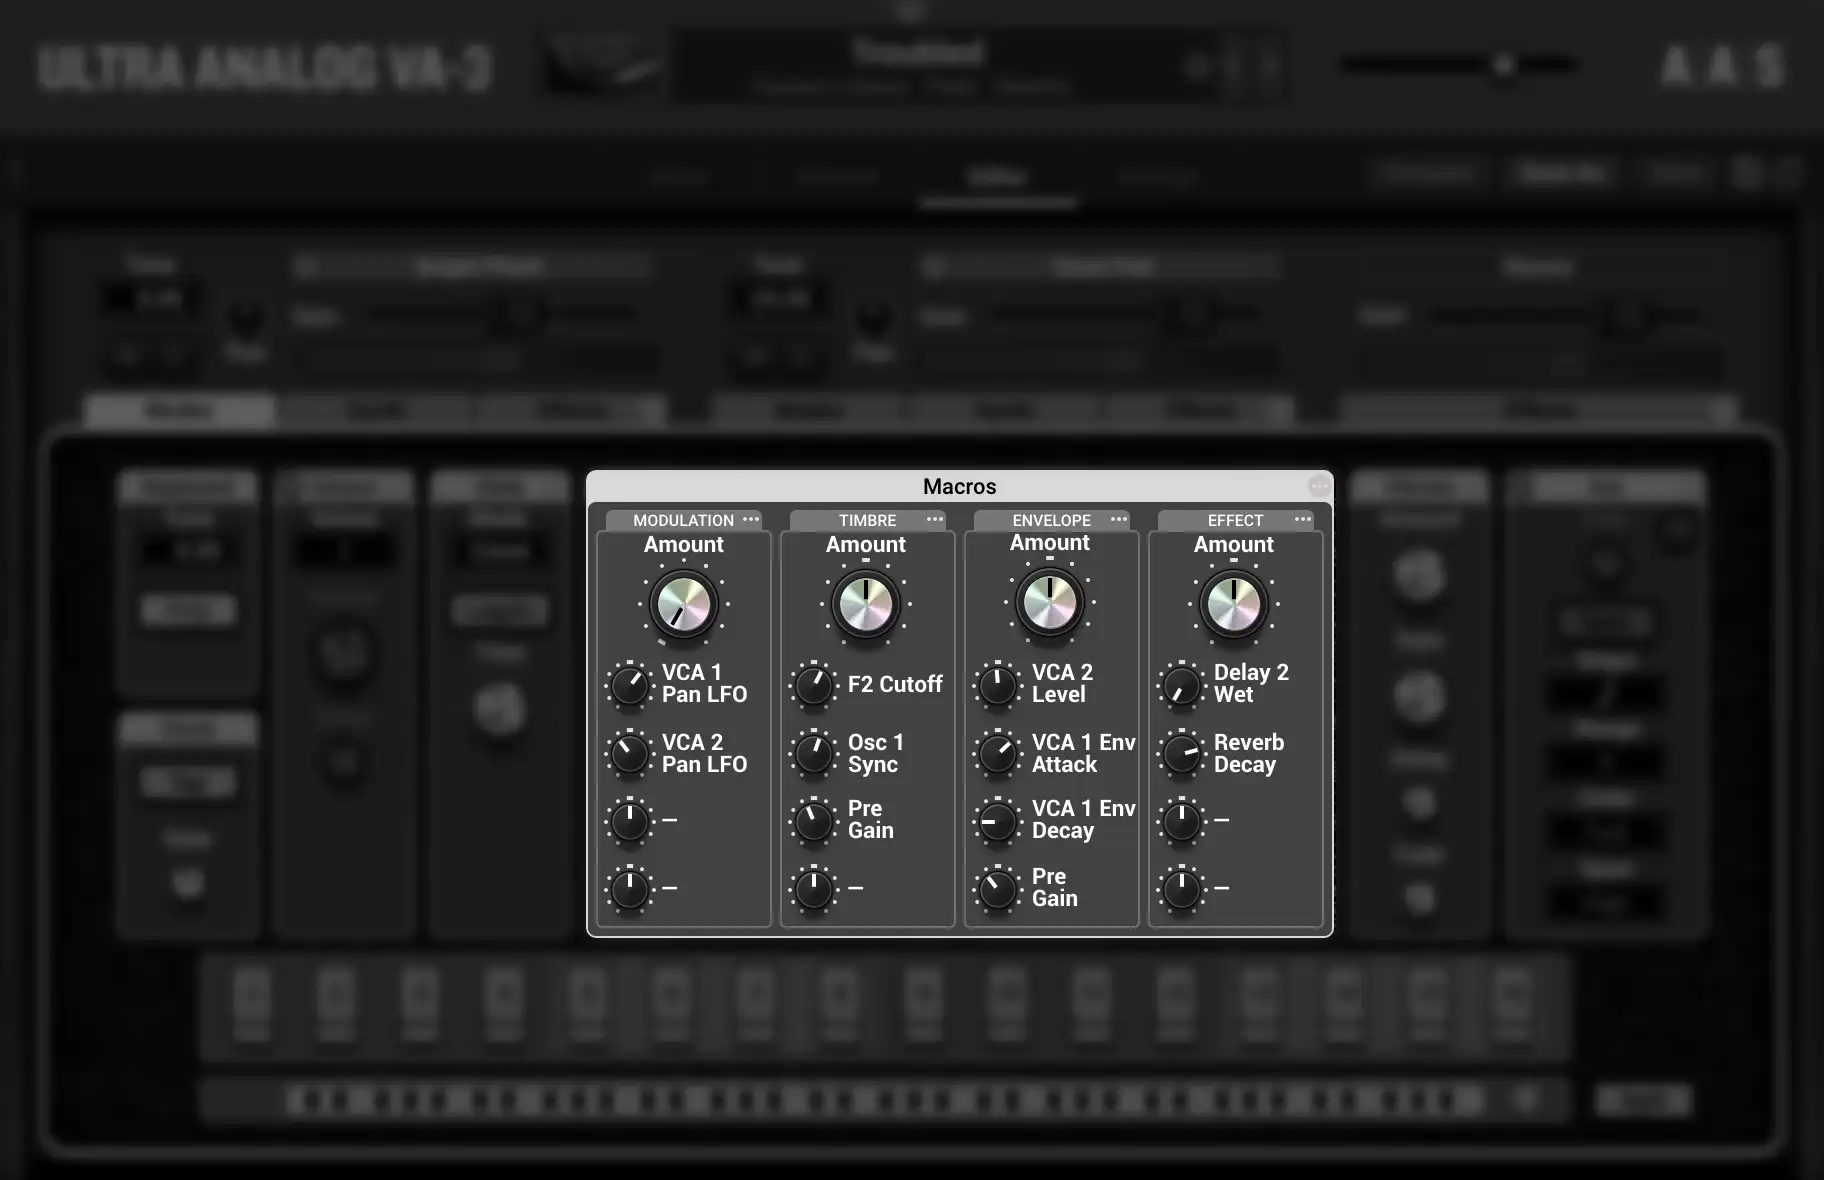
Per sound MIDI-controlled variations
Ultra Analog VA‑3 now boasts four performance macros per layer that respond to user-defined MIDI controls. Each and every sound features modulation, timbre, envelope, and effect morphing assignments that can be played in real time for enhanced expressivity and sonic dimension.