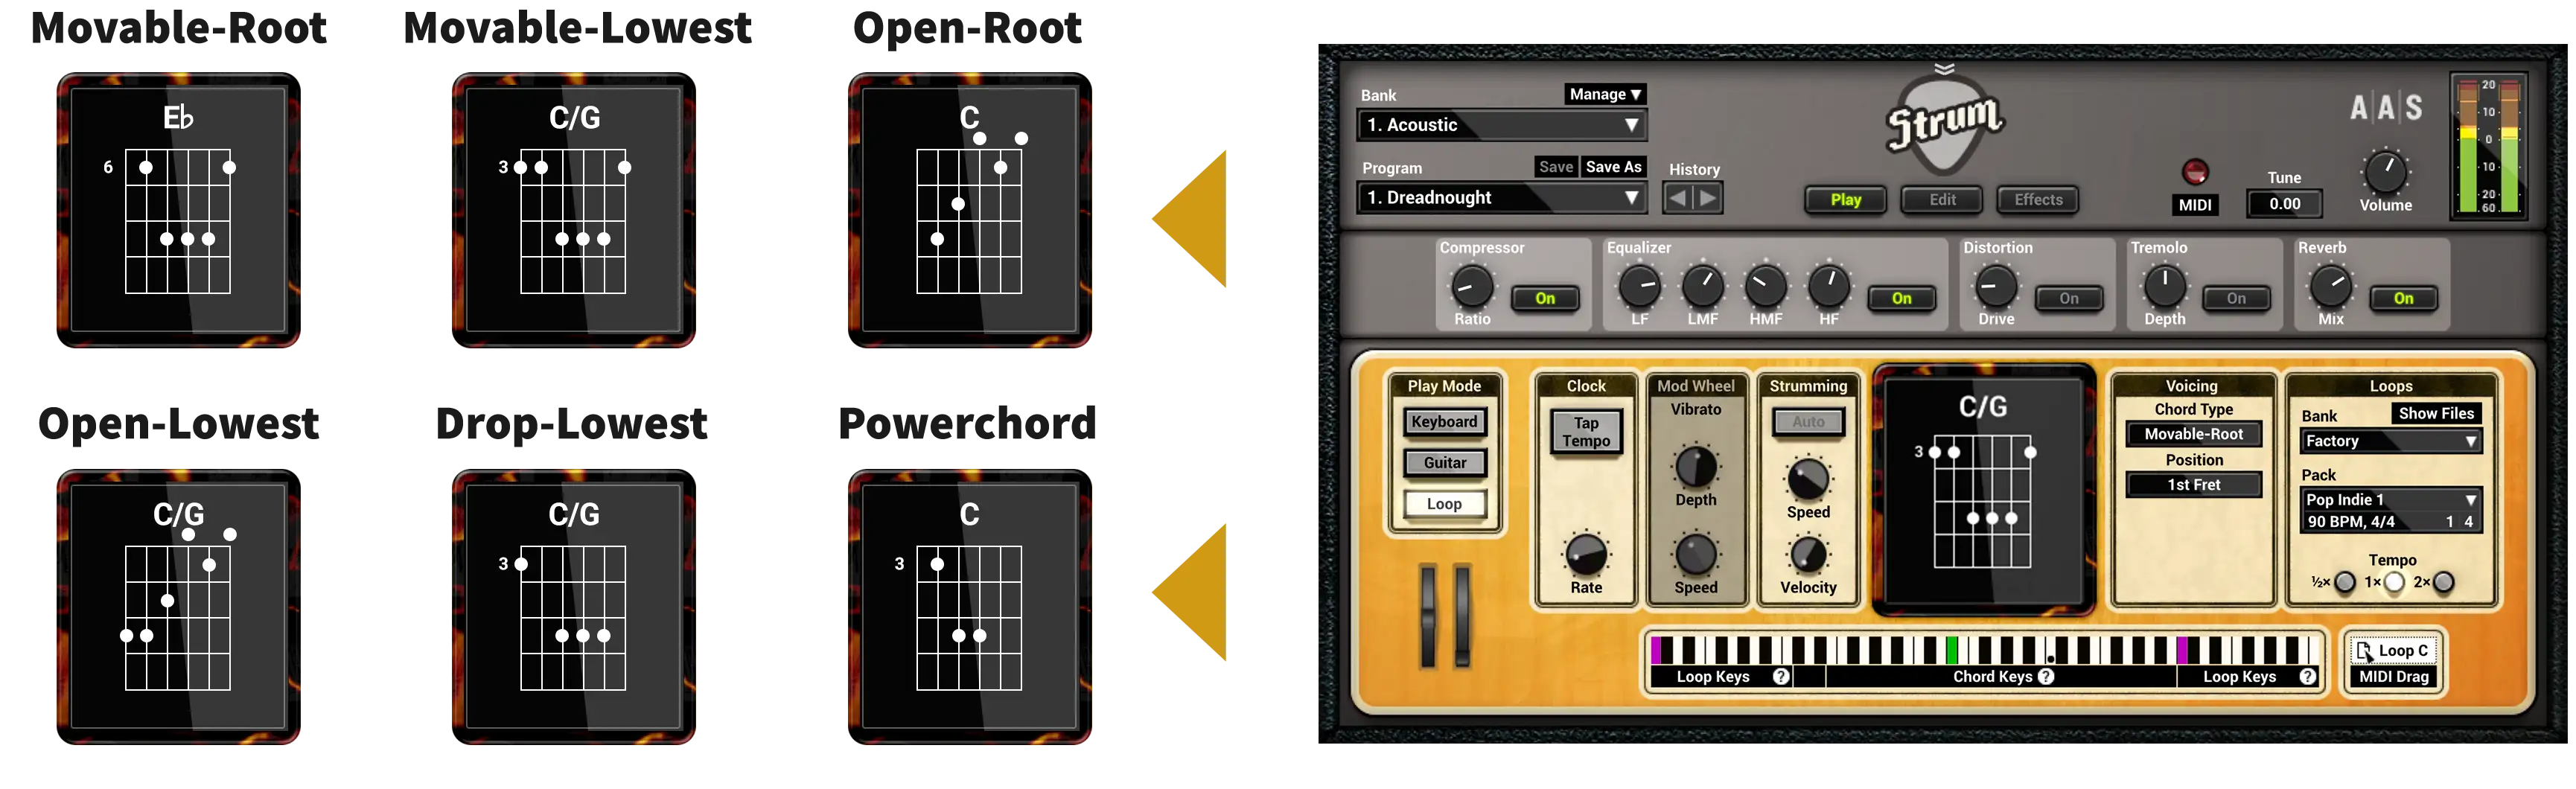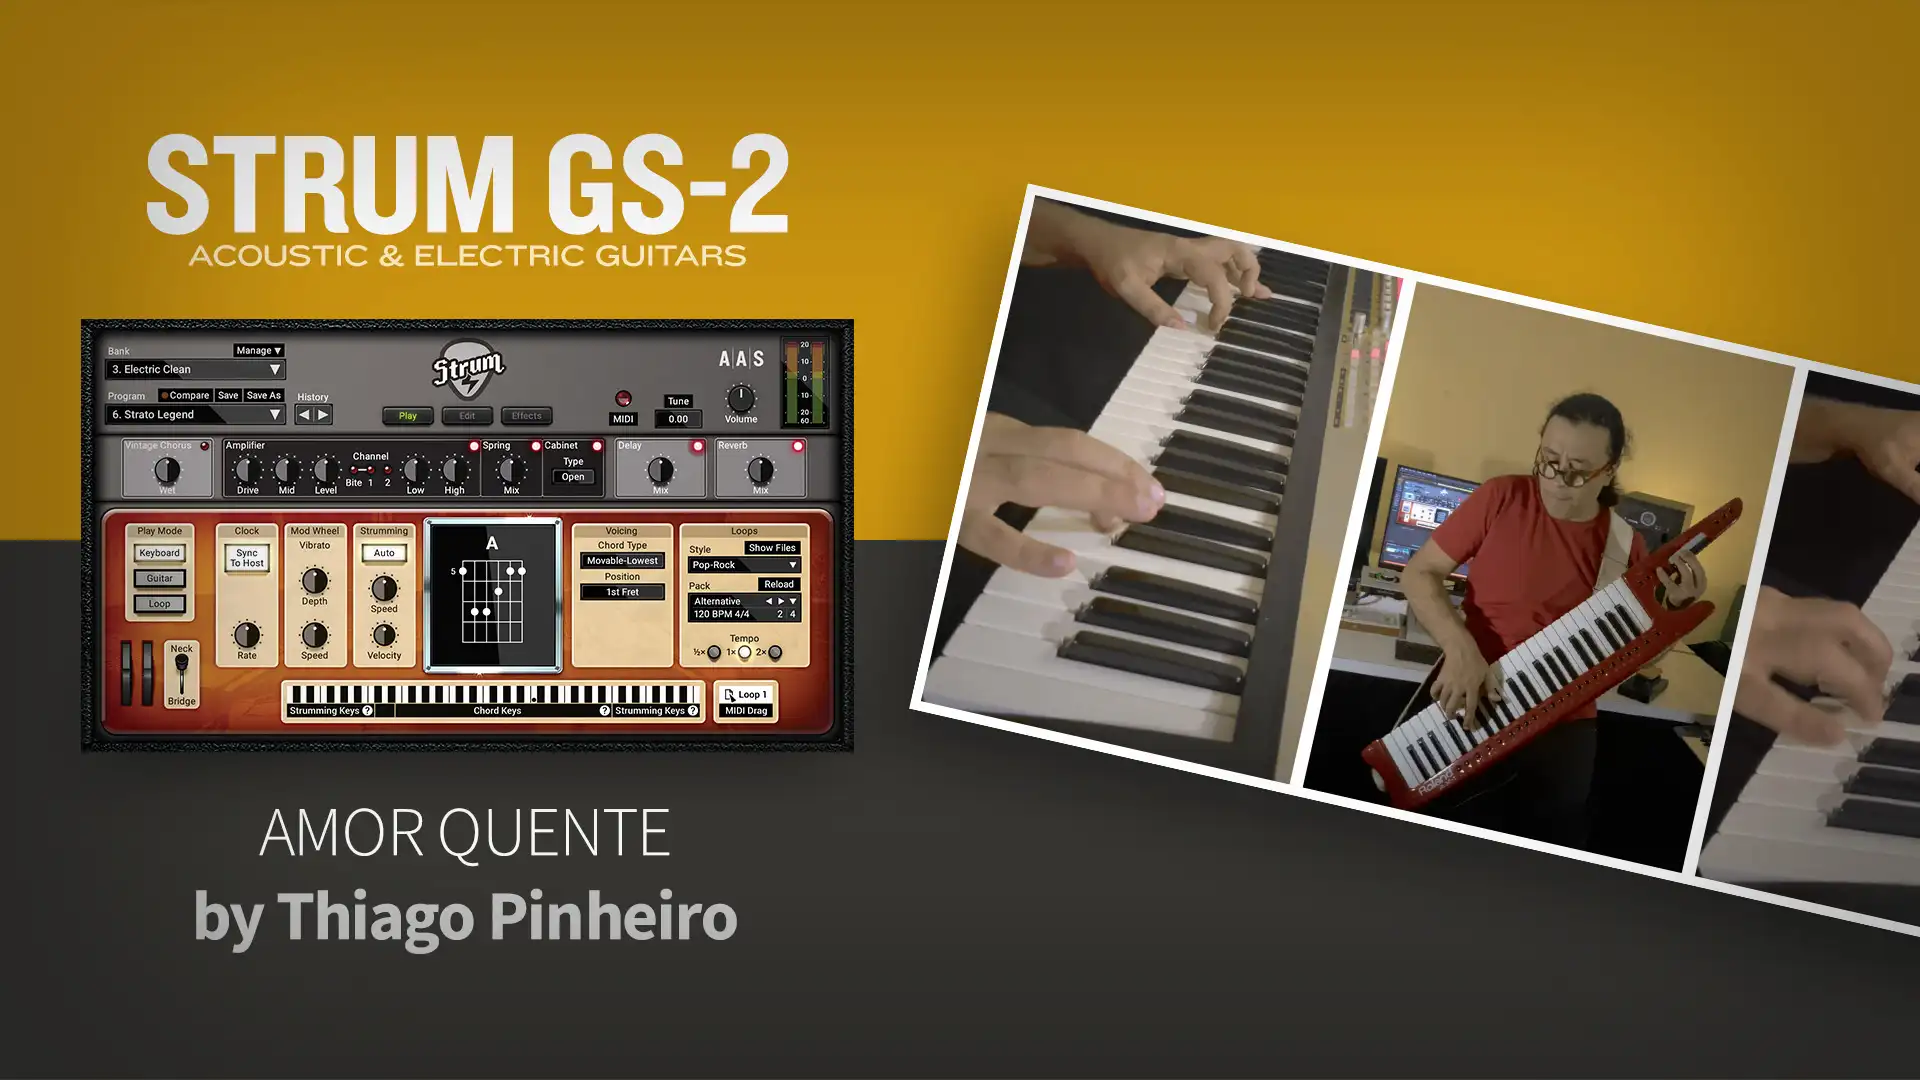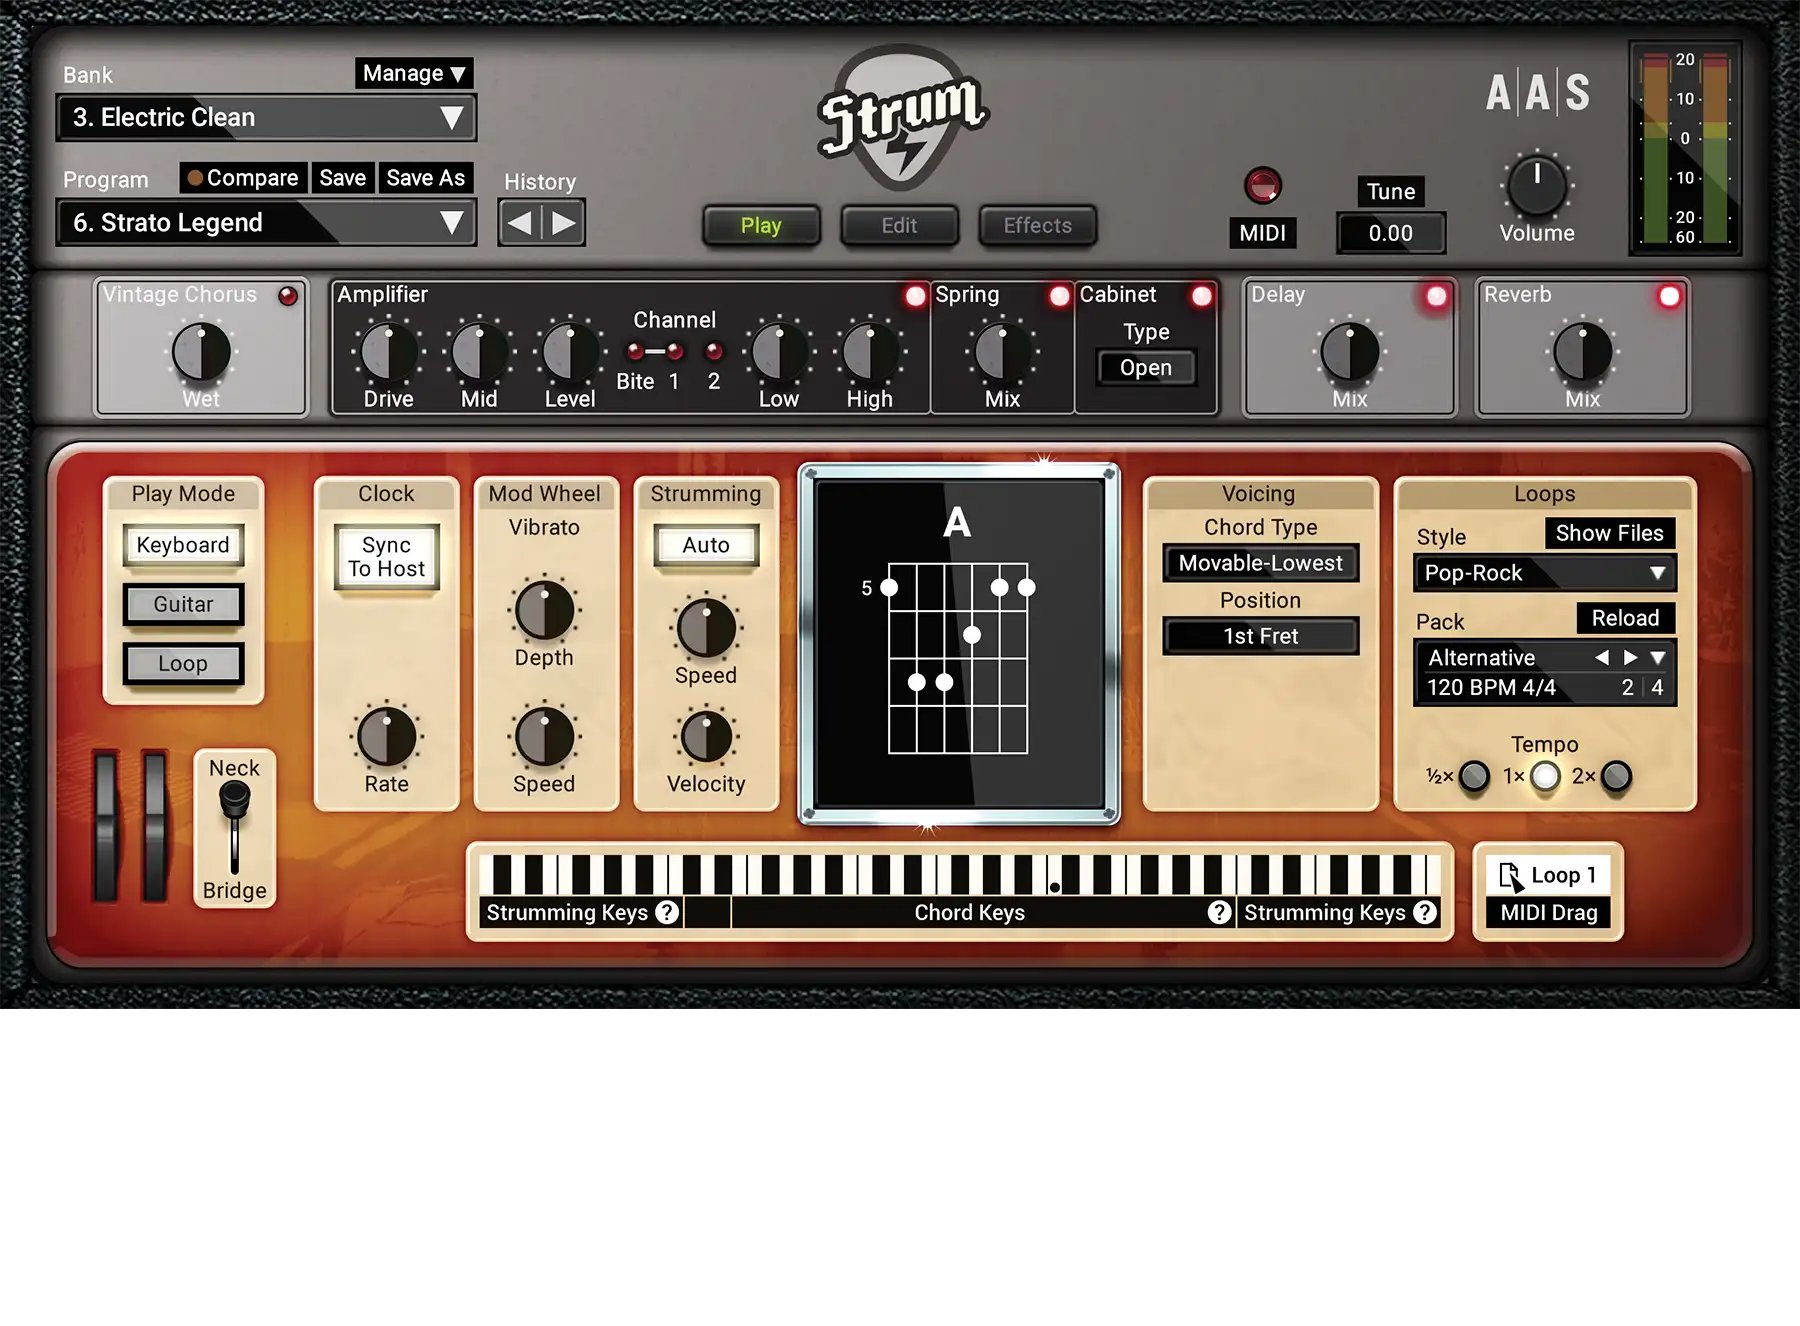
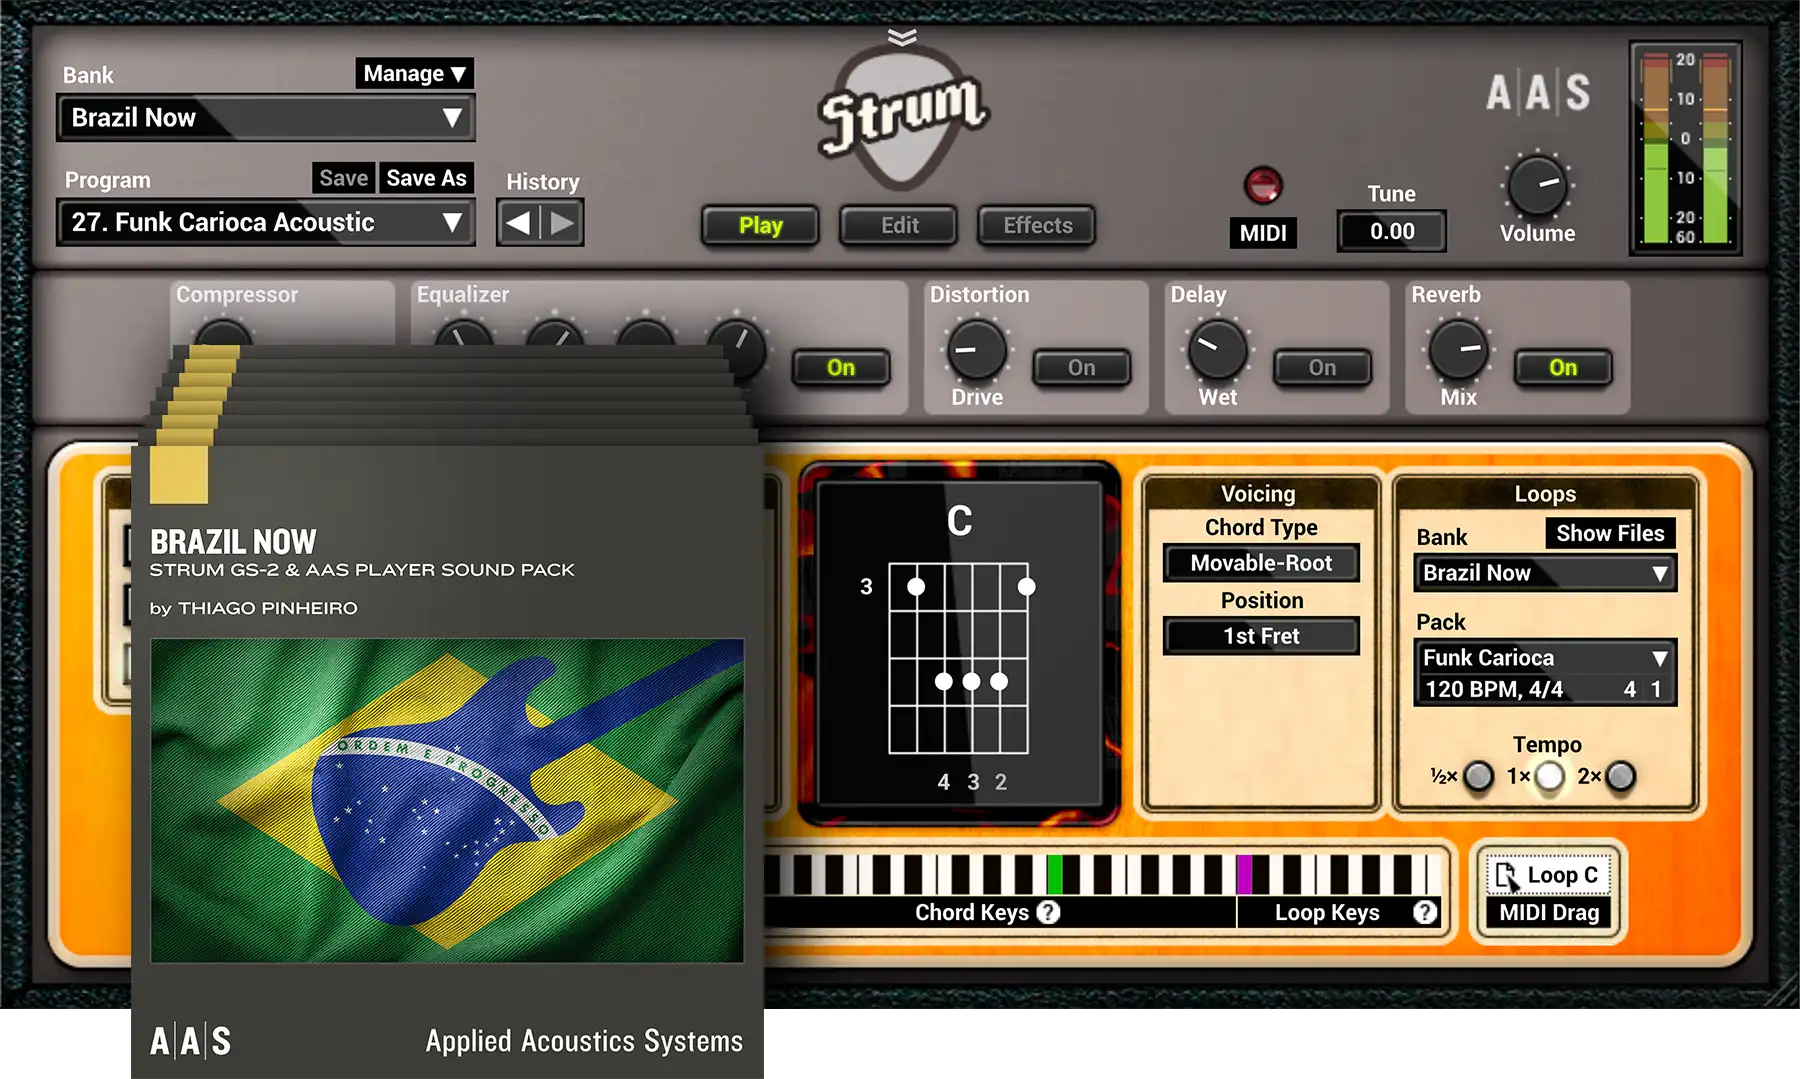
PICK THE GUITAR SOUND YOU NEED
The convenience of having all your acoustic and electric guitars at the flick of a switch.
-
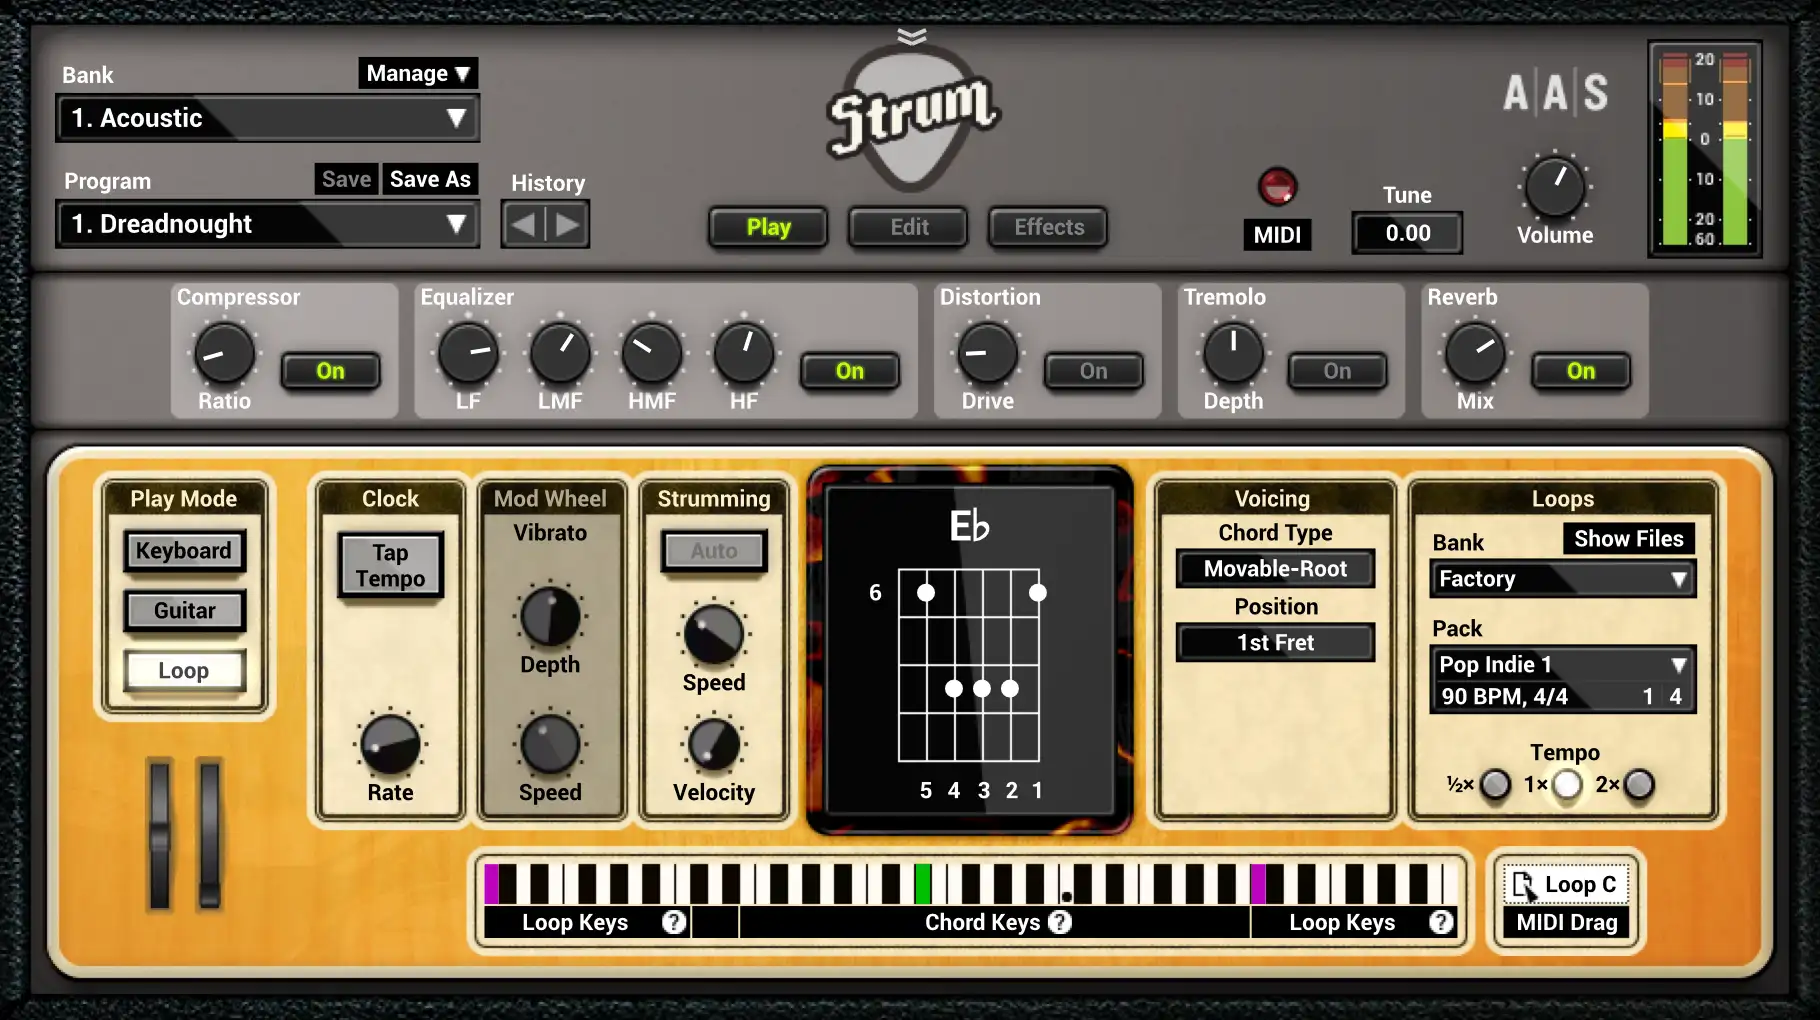
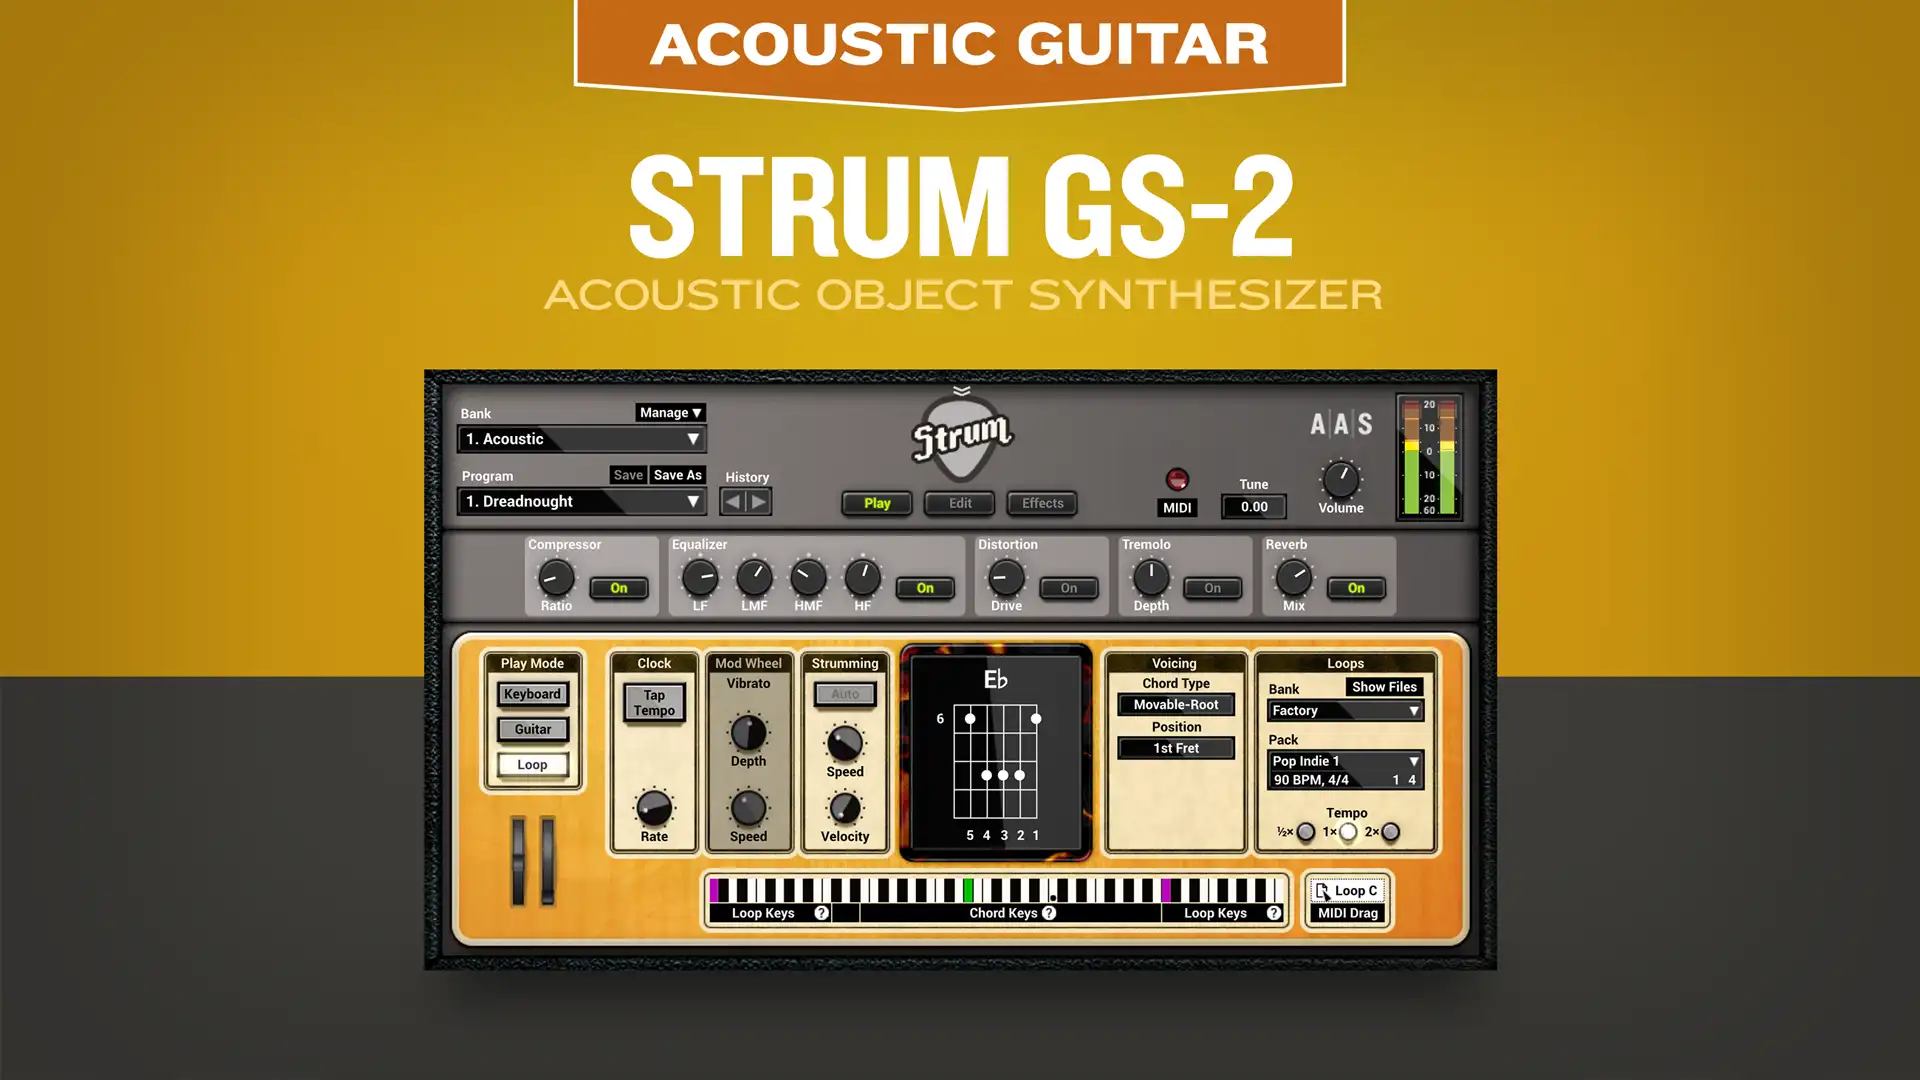
Acoustic Guitars
More than 100 acoustic guitar presets with a choice of nylon and steel strings and different body shapes.
-
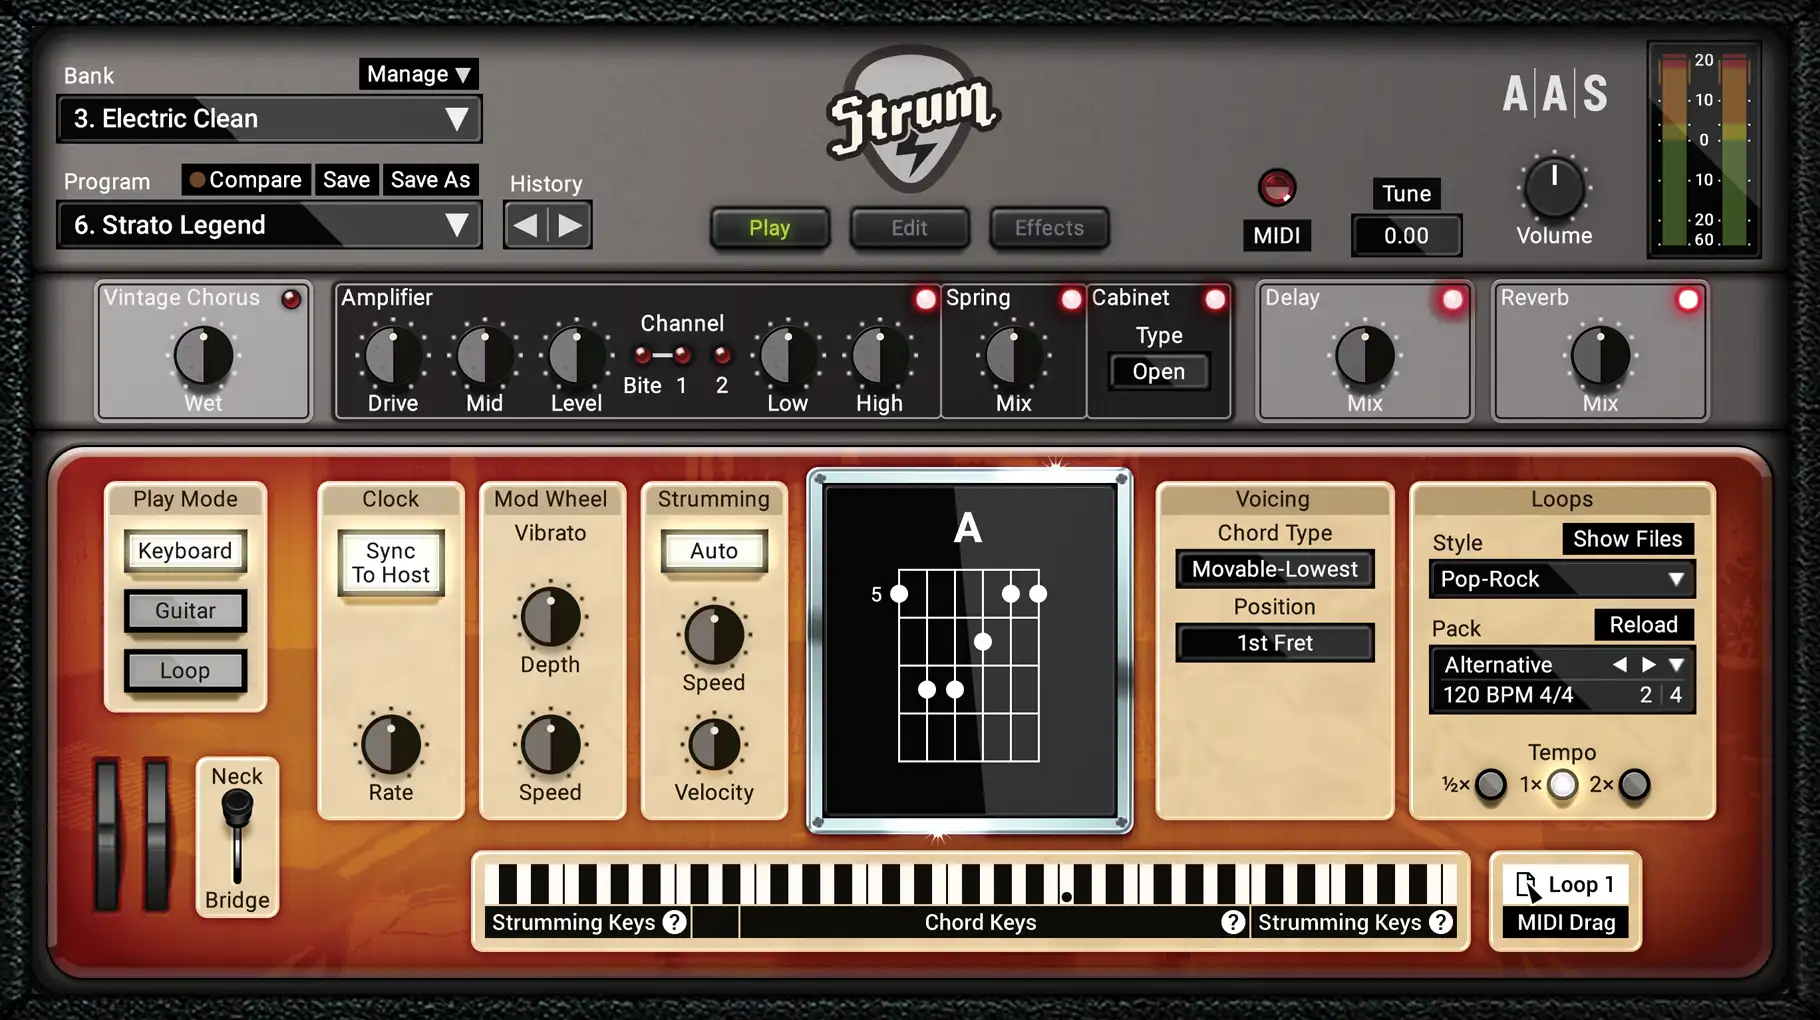
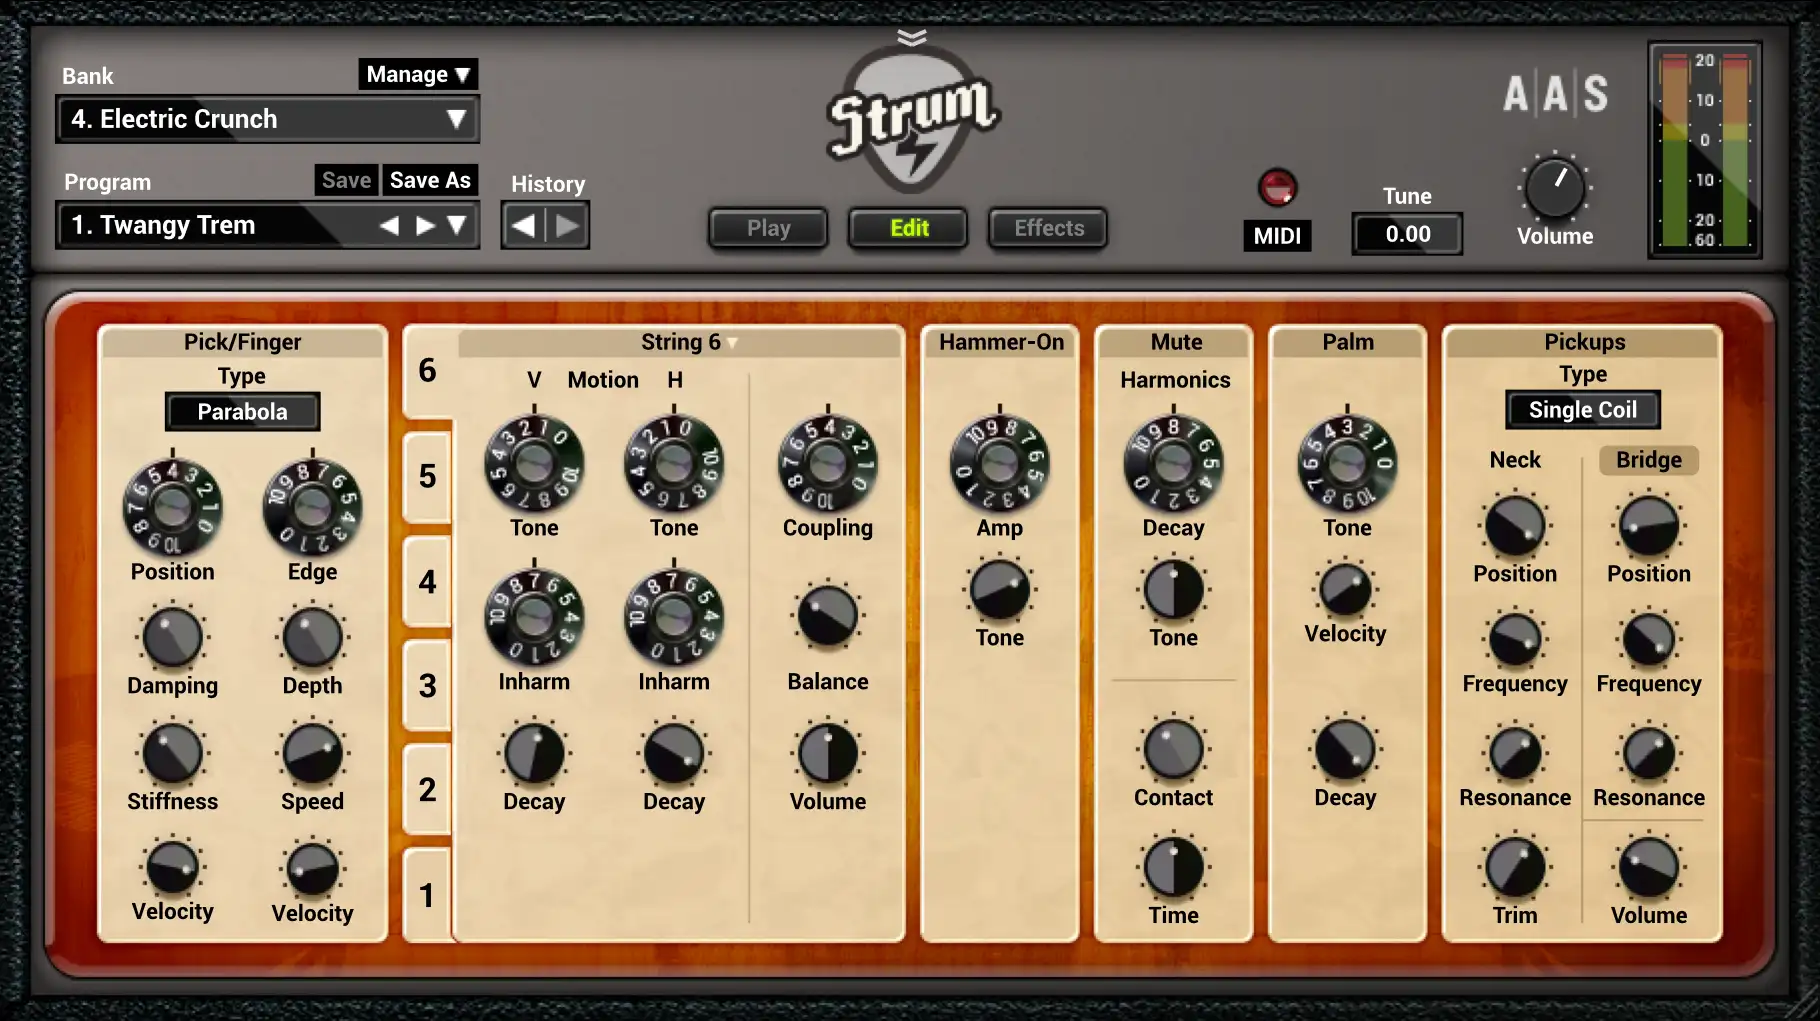
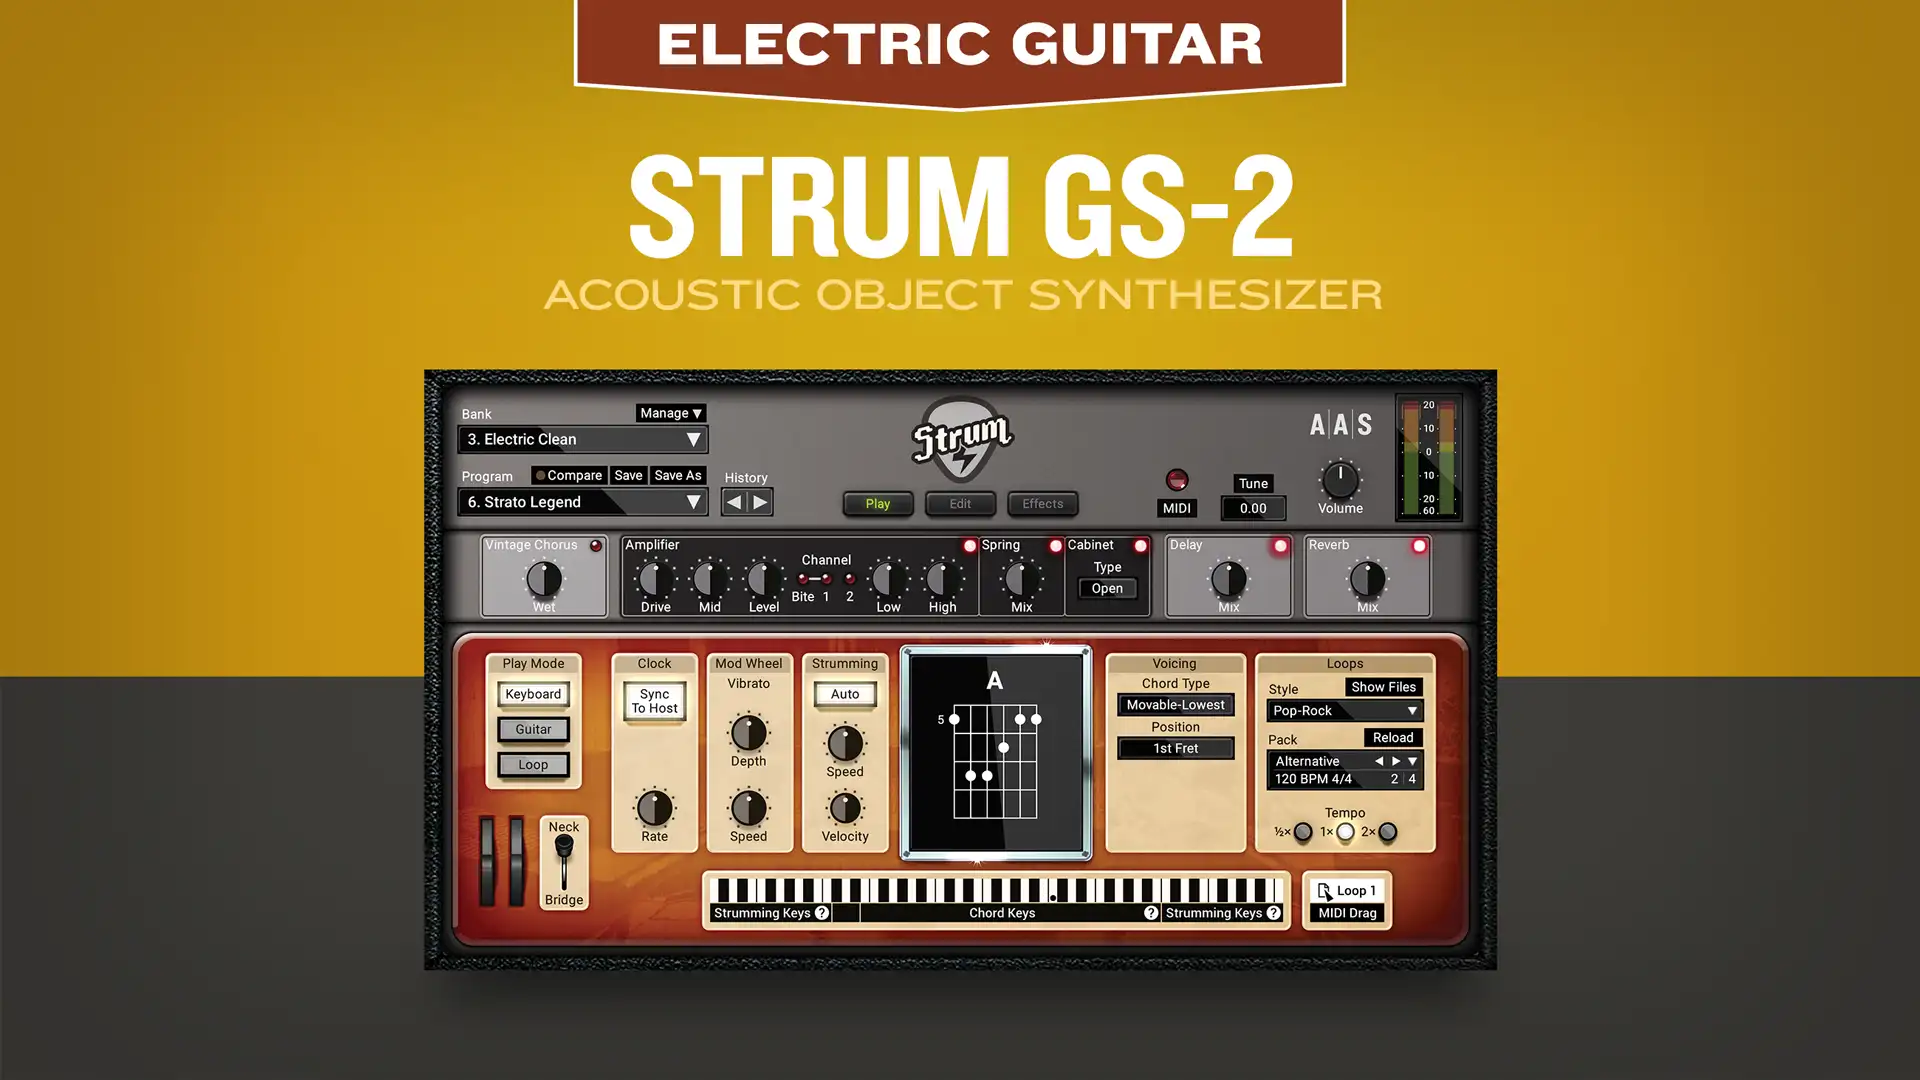
Electric Guitars
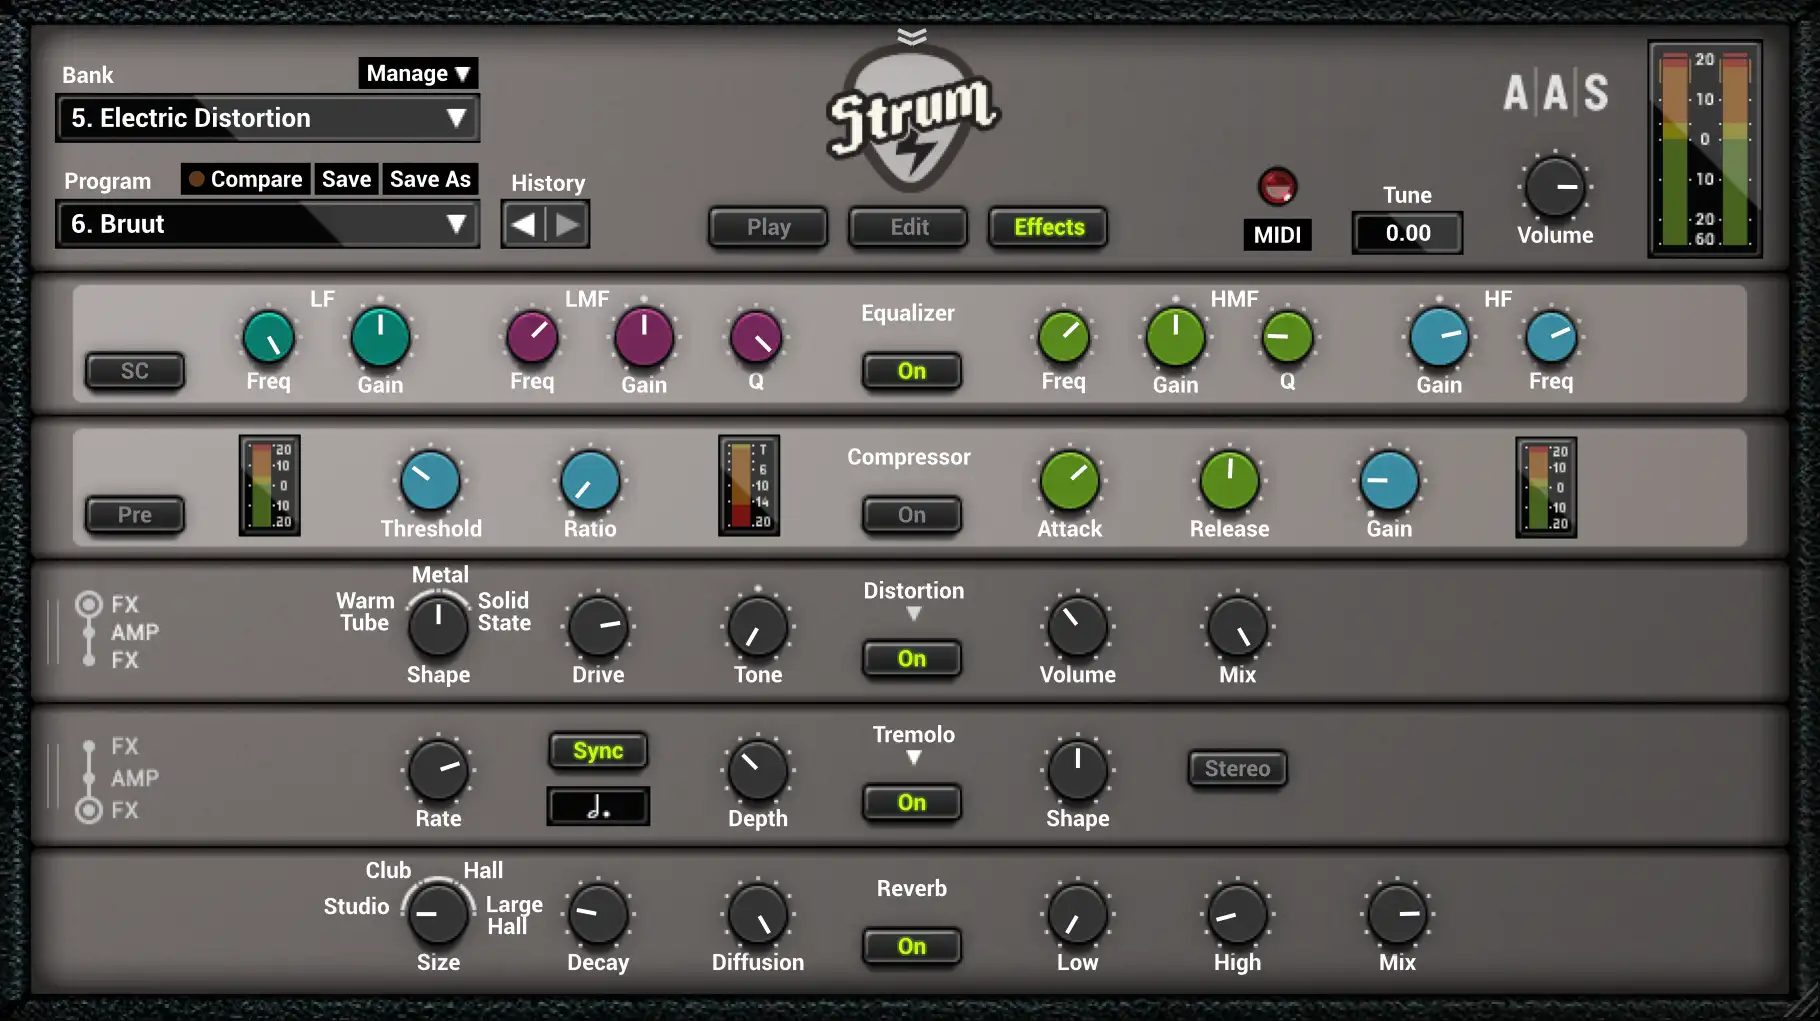
150 electric guitar presets, single coil and humbucker fitted pickups, clean, crunchy, distorted, plus a 2-channel amplifier, spring reverb, speaker cabinet, and effects.