The essence
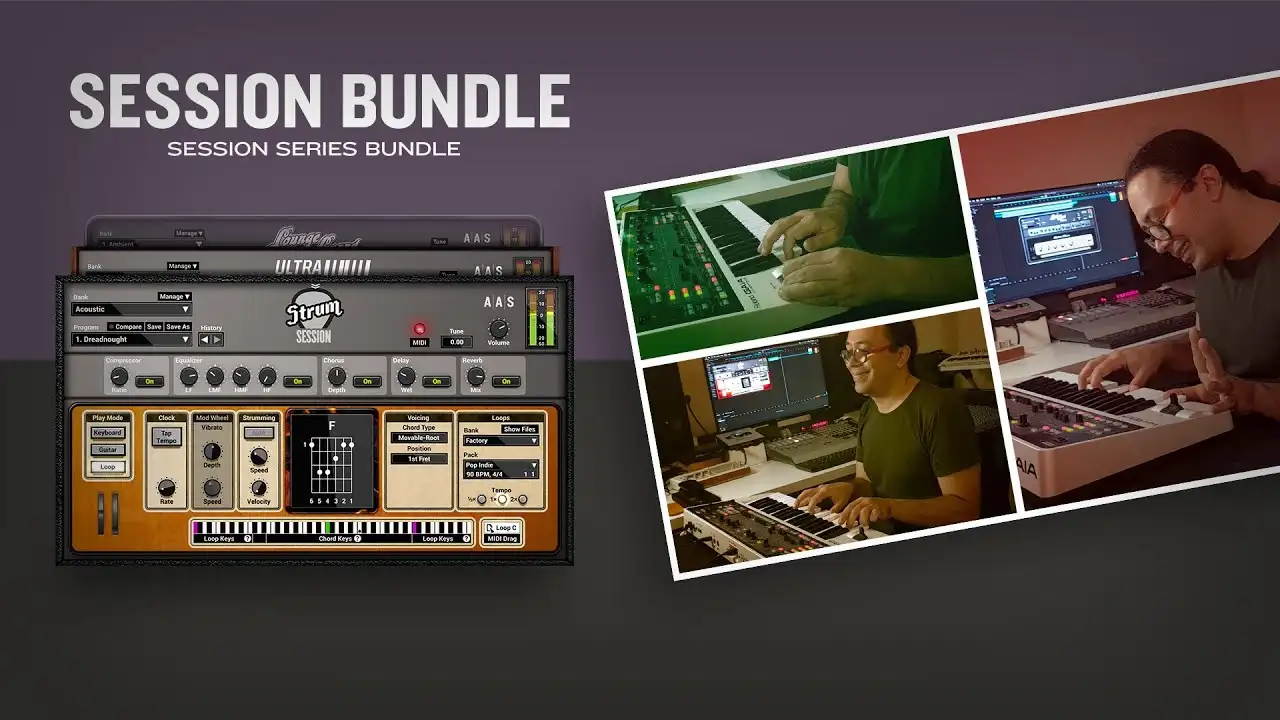
Three synths for music makers. The Session instruments provide essential sounds for your tracks and are a real treat to play.
Fully functional for 15 days. Less than 110 MB to download. Seconds to install.
The Session bundle brings you three inspiring instruments which react dynamically to your playing. Small memory footprint, flash-loading presets, and no velocity switching ensure a smooth workflow and natural sounding performance.
Install and authorize all instruments and sound packs at once from a single custom installer file. With the whole thing at just over 100 MB, you'll be up and running in no time.
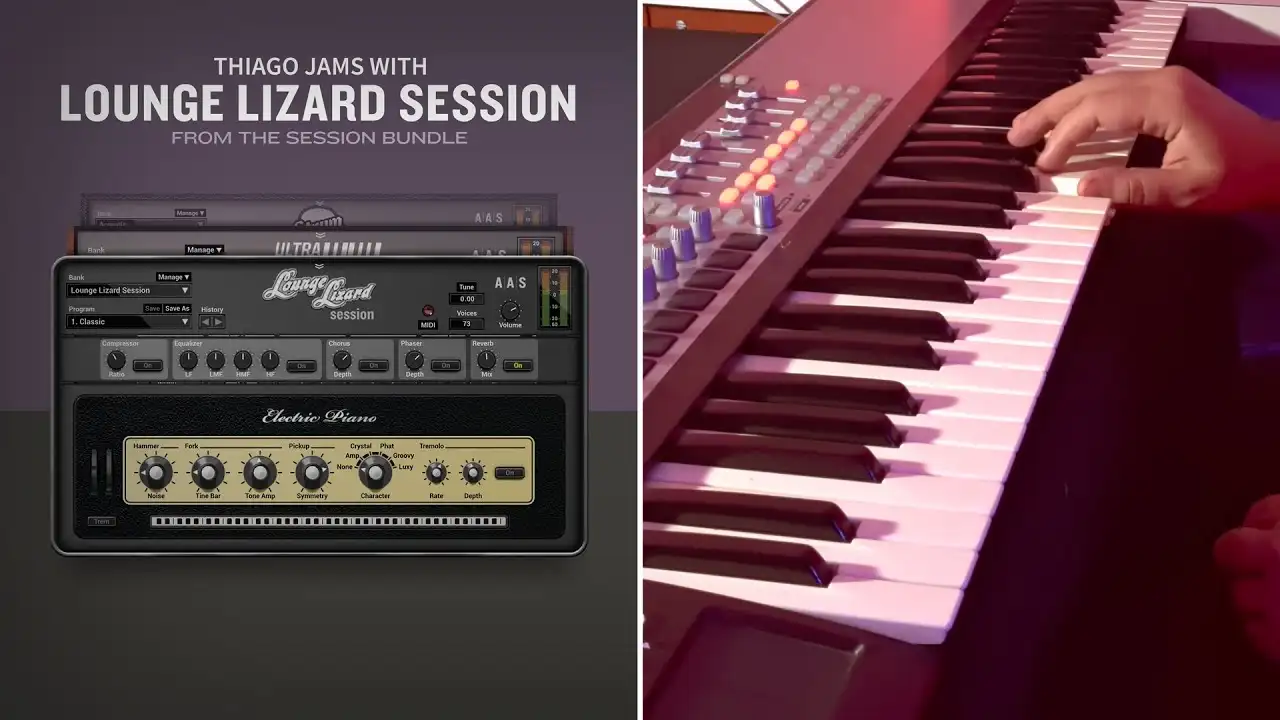
Lounge Lizard Session delivers authentic classic electric piano tones with outstanding sound quality, action, and feel.
Craft your tone with access to key synthesis parameters acting on the mallet, pickup, tine, and tone bar.
16 sounds based on a classic electric piano from the award-winning Lounge Lizard EP‑4.
Provides five classic studio and stage signal path emulations.
Craft your sound and add punch.
Tremolo, chorus, phaser, and reverb especially tuned for an electric piano.
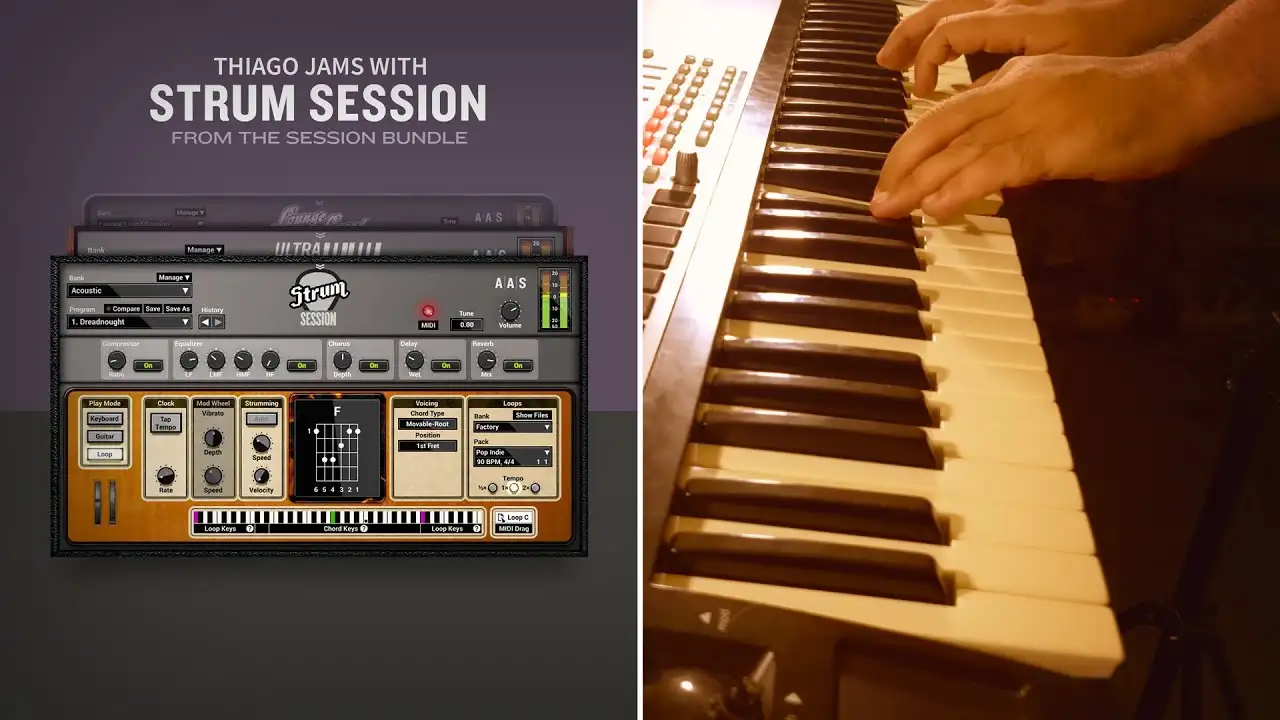
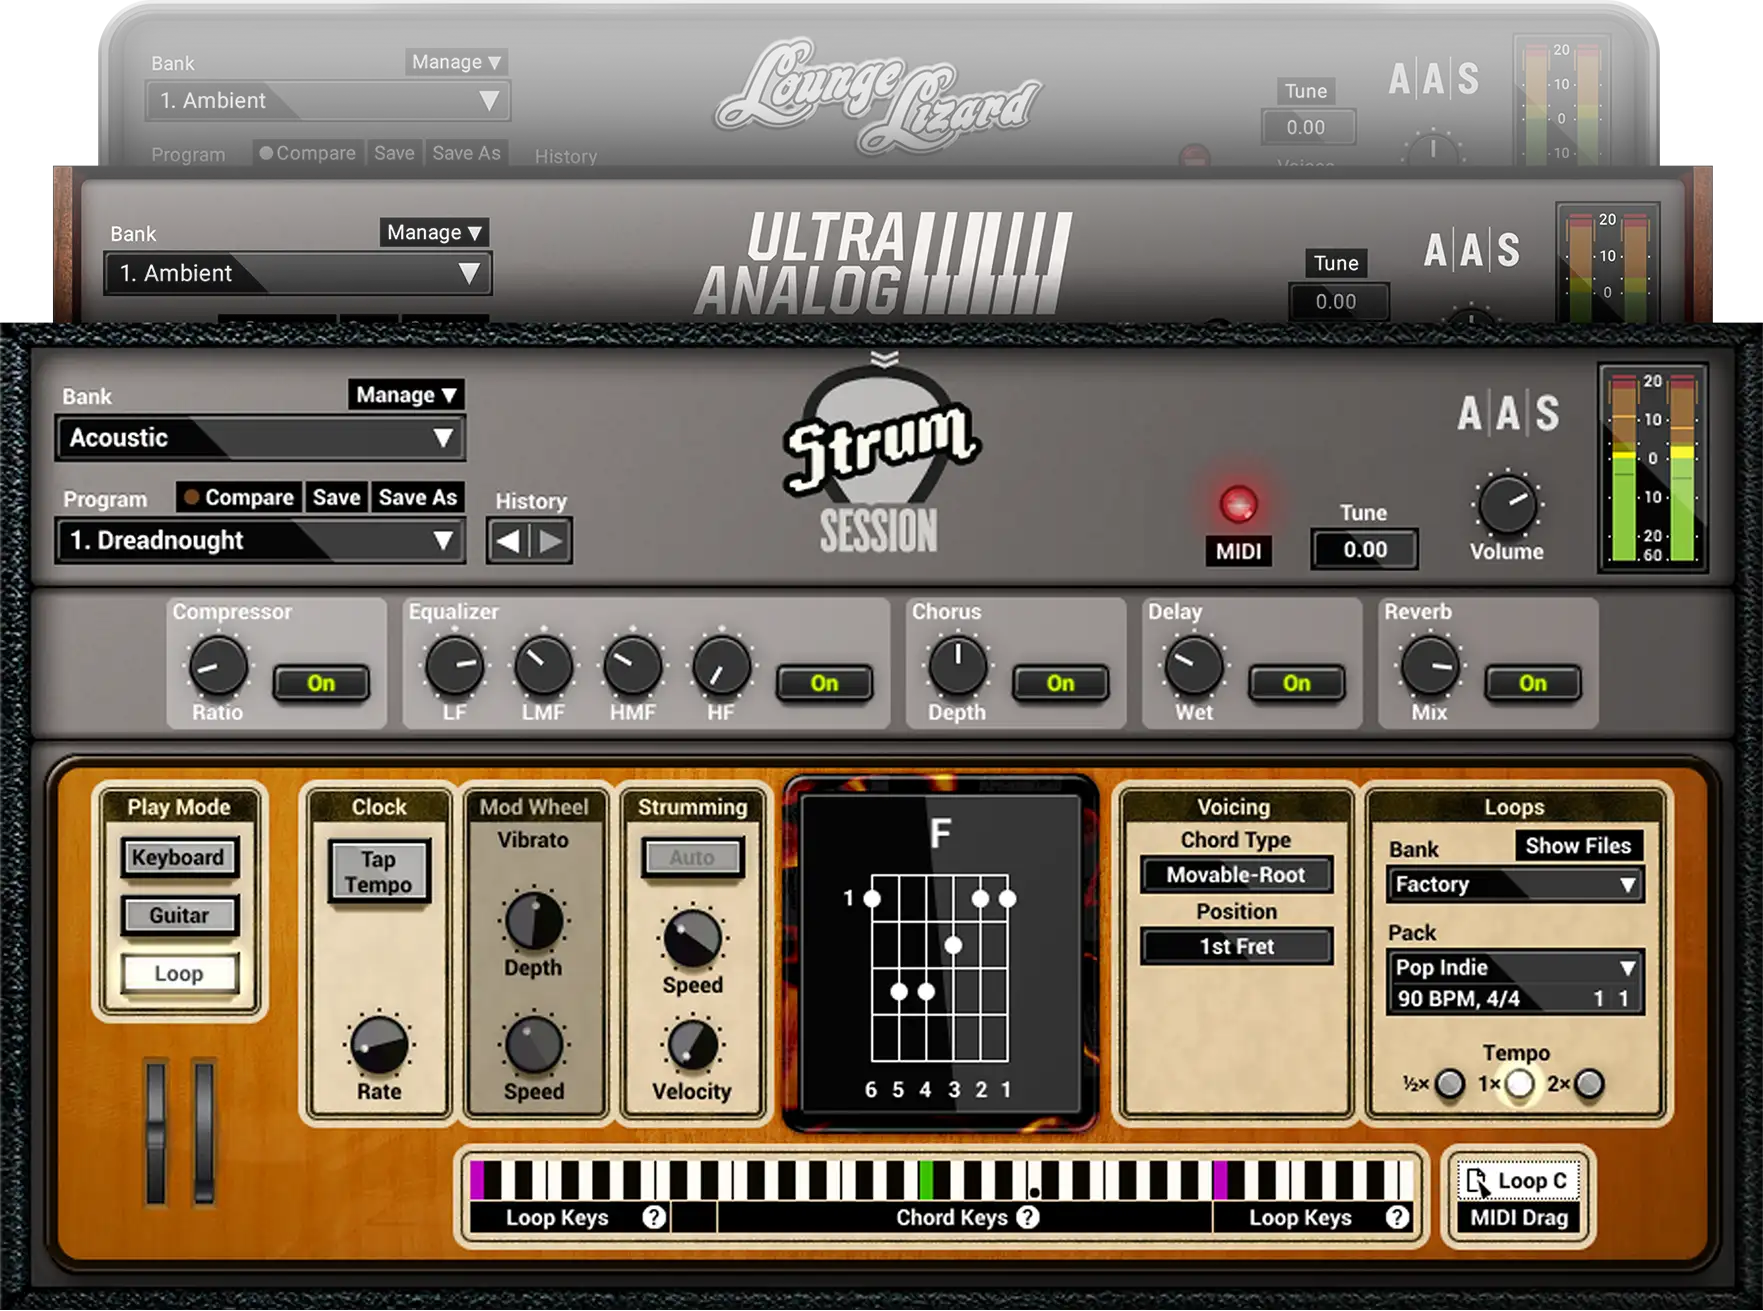
Combines an acoustic and an electric guitar in the same package. With chord recognition, chord voicing, strumming and picking action, MIDI riff library, amp and effects, playing guitar on a keyboard has never been so easy.
Trigger down- and up-strokes, scratches and mutes, or create picking patterns using the arpeggio keys.
The Strum Session chord library contains basic and extended chords available in open, movable, or drop voicings. Play the chords you know and strum voices them automatically as a guitarist would.
Use the collection of recorded strumming patterns over the chords you play and find inspiration for your track. Drag and drop the loop to your host sequencer and make it perfect for you song.
12 acoustic guitars and 12 electric guitars presets and more than 700 strumming loops in different styles.
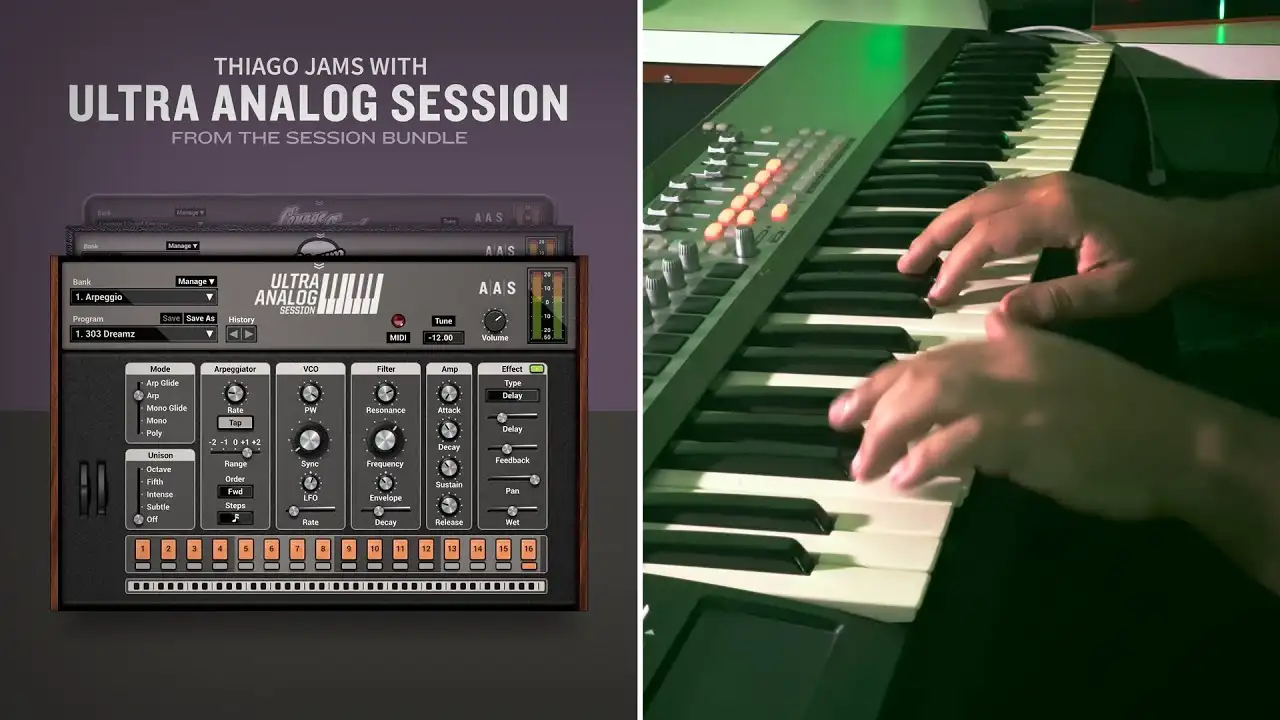
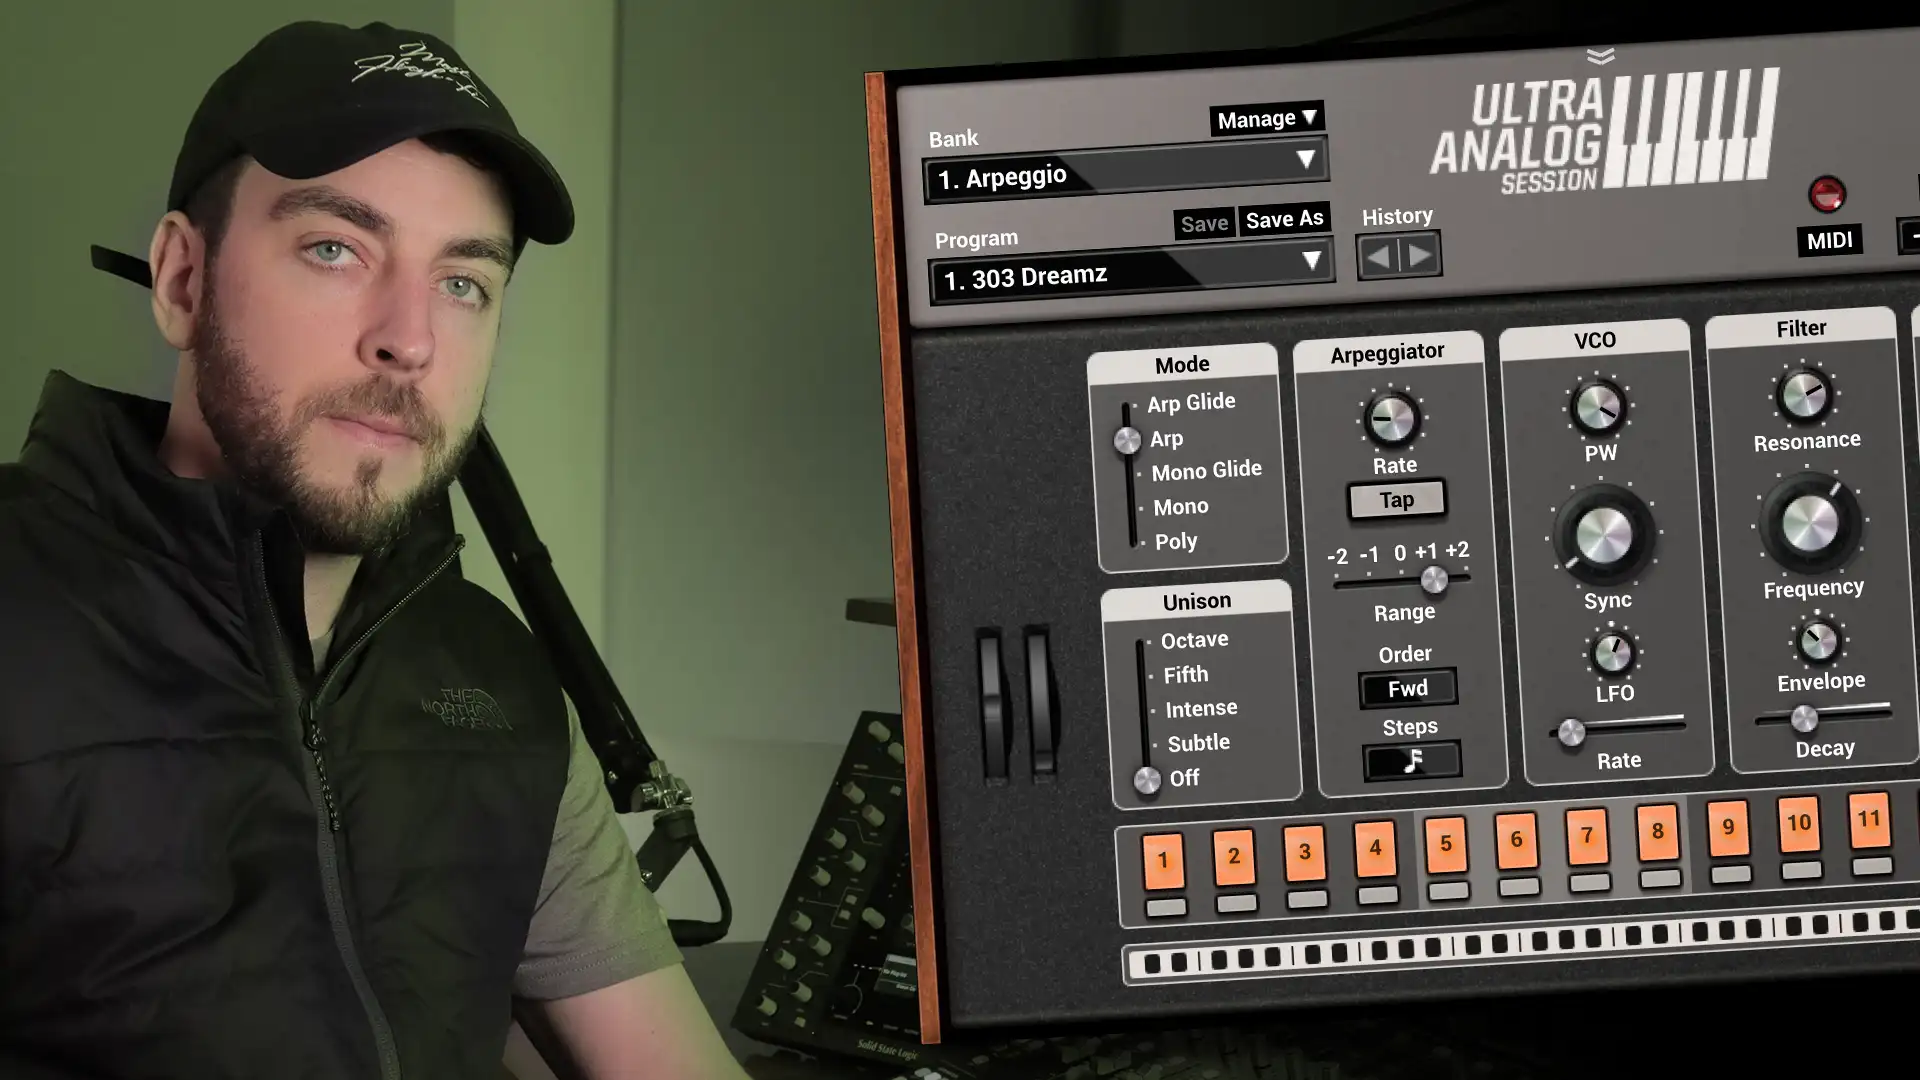
Few Knobs, big Sounds. The container may be small but Ultra Analog Session is a really fun to play and packs outstanding sounds.
A superb sound library with signature presets from producers Richard Devine and Sean Divine.
Ready, willing, and able, Ultra Analog Session's arpeggiator offers various syncing resolutions, playing algorithms, and rhythmic patterns that will spruce up any chord progressions into percolating melodies or pulsing sequences.
You’ll love the pure raw sound of Ultra Analog Session, but the built-in effects will bring it to so many places that you’ll enjoy having them on hand.
Ultra Analog Session will match your playing style or musical context with ease thanks to the tap tempo and sync to host clock options; poly- or monophonic with note priority keyboard modes; up-to-4-voice unison; glide and legato functions; and the flexible vibrato.
144 presets distributed in the arpeggio, bass, lead, pad and polysynth categories.
This bundle isn’t just a great deal, it also contains sonic goodness. Discover how our collaborators are using it.
The Session instruments are simplified version of the Lounge Lizard EP‑5, Ultra Analog VA‑3, and Strum GS‑2 Professional Series instruments.
The Session instruments were designed to be easy-to-use and while they provide key synthesis parameters, they do not have the full edition possibilities offered by the Edit and Effects views of the Professional Series instruments.
The factory libraries of the Professional Series instruments include more sounds.
Expansion sound packs only work with our Profession Series instruments, they can not be loaded in the Session instruments.
If you are not ready yet to make the jump to the Professional Series instruments, the Session bundle is a great alternative at a lower price. If you change your mind later, you can upgrade to Professional Series instruments at any time.
Session Bundle is compatible with nearly all DAWs.
Ableton
Apple
Avid
Bitwig
Cockos
Image-Line
MOTU
Native Instruments
Native Instruments
Fender
Reason Studios
Steinberg
BandLab
Acoustica
*The minimum system requirements mentioned above are for standalone usage. For plug-in usage, please refer to your DAW software requirements (Cakewalk, Pro Tools, Cubase, Live, Digital Performer, Logic Pro, etc.).
You still have questions about purchasing, educational sales, or licensing?
Find everything in one place—manual, technical FAQ, latest installers, and version history.

We offer a 30-day money-back guarantee on all orders carried out on our web store—no question asked.

Our custom installers ensure fast installation and authorization so that music remains the priority.

We pride ourself in providing fast, accurate, and friendly customer assistance by our in-house experienced AAS staff.

We craft music software since 1998 and pledge to continue doing so for years to come, and that with the best user experience in mind.
Preparing your download…
This can take up to a minute.